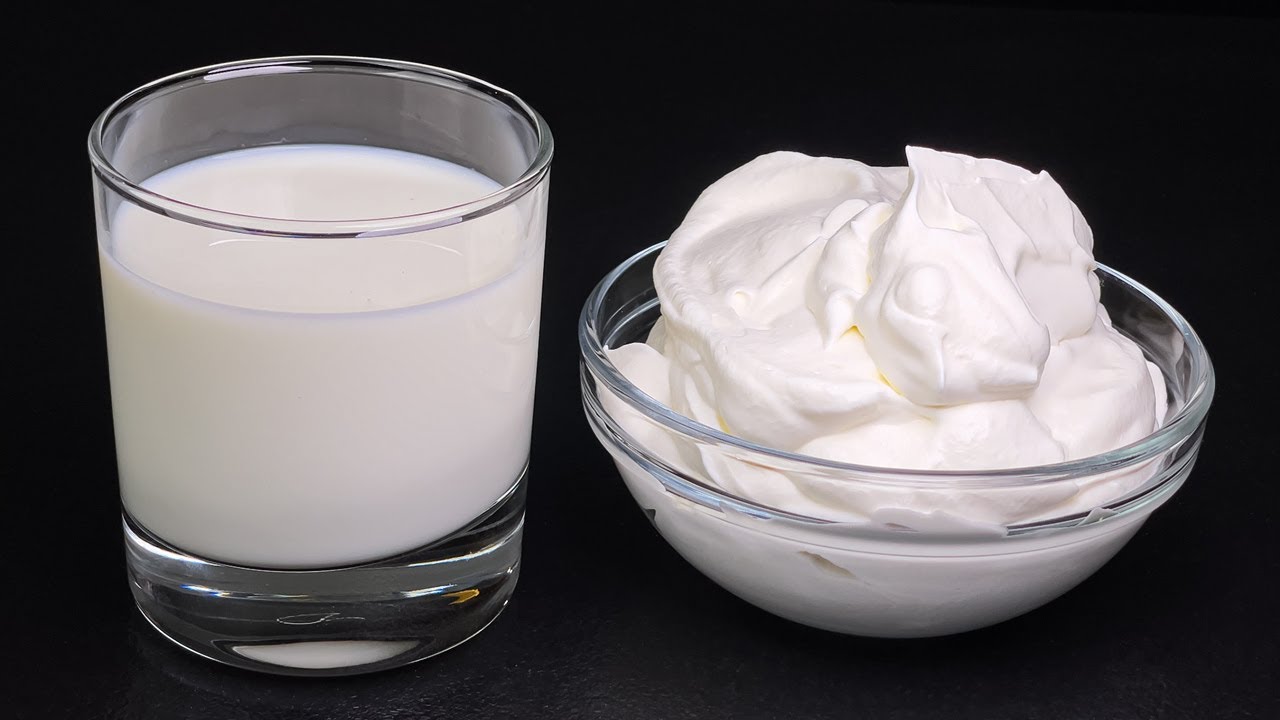
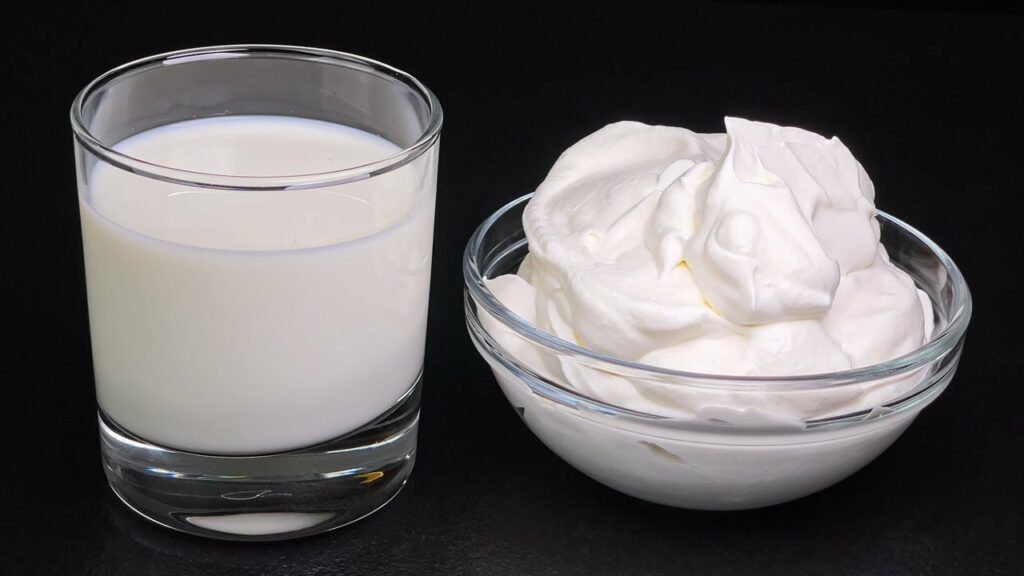
Imagine turning a simple glass of milk into a fluffy, delicious whipped cream in just 10 minutes! This homemade recipe is perfect for those who want a healthier, sugar-free alternative to traditional whipped cream. Let’s dive into this quick and easy method that will add a creamy touch to your desserts, fruits, and more.
Ingredients
-
1 cup whole milk
-
1 tablespoon unflavored gelatin
-
1 teaspoon vanilla extract (optional, for flavor)
Instructions
1. Prepare the Gelatin:
-
Dissolve Gelatin: In a small bowl, add 1 tablespoon of unflavored gelatin to 2 tablespoons of cold water. Let it sit for a few minutes until it blooms (absorbs the water and becomes gelatinous).
2. Heat the Milk:
-
Warm the Milk: Pour 1 cup of whole milk into a small saucepan and heat it over medium-low heat. Do not let it boil; just warm it enough so that it’s hot to the touch but not scalding.
3. Combine Gelatin and Milk:
-
Mix Gelatin into Milk: Once the milk is warm, remove it from the heat. Stir in the bloomed gelatin until it is fully dissolved in the milk.
4. Cool the Mixture:
-
Refrigerate: Pour the milk and gelatin mixture into a mixing bowl and let it cool in the refrigerator for about 10 minutes. The mixture should be cool but not fully set.
5. Whip the Cream:
-
Whip the Mixture: After the mixture has cooled, use an electric mixer to whip it on high speed. Whip for about 5-7 minutes, or until soft peaks form and the mixture resembles whipped cream.
6. Add Flavor (Optional):
-
Vanilla Extract: If you want to add a bit of flavor, mix in 1 teaspoon of vanilla extract during the whipping process.
Tips for Best Results
-
Chill Your Utensils: For even better results, chill your mixing bowl and beaters in the freezer for a few minutes before whipping the cream. This helps the mixture whip up more quickly.
-
Consistency Check: Keep an eye on the mixture as you whip it. Stop whipping as soon as you reach the desired consistency to avoid over-whipping, which can make the cream too stiff.
-
Storage: Store any leftover whipped cream in an airtight container in the refrigerator. Use within 2-3 days for the best texture and flavor.
Uses for Homemade Whipped Cream
-
Topping for Desserts: Use your homemade whipped cream as a topping for pies, cakes, and puddings.
-
Fruits: Add a dollop to fresh berries, peaches, or any of your favorite fruits for a delightful treat.
-
Beverages: Top off your hot chocolate, coffee, or smoothies with a spoonful of whipped cream for a creamy finish.
Conclusion
Turning a glass of milk into whipped cream is a simple, quick, and sugar-free alternative to store-bought whipped cream. With just a few ingredients and a little bit of time, you can create a delicious, creamy topping that enhances any dessert or treat. Try this easy recipe and enjoy the homemade goodness of freshly whipped cream in just 10 minutes!