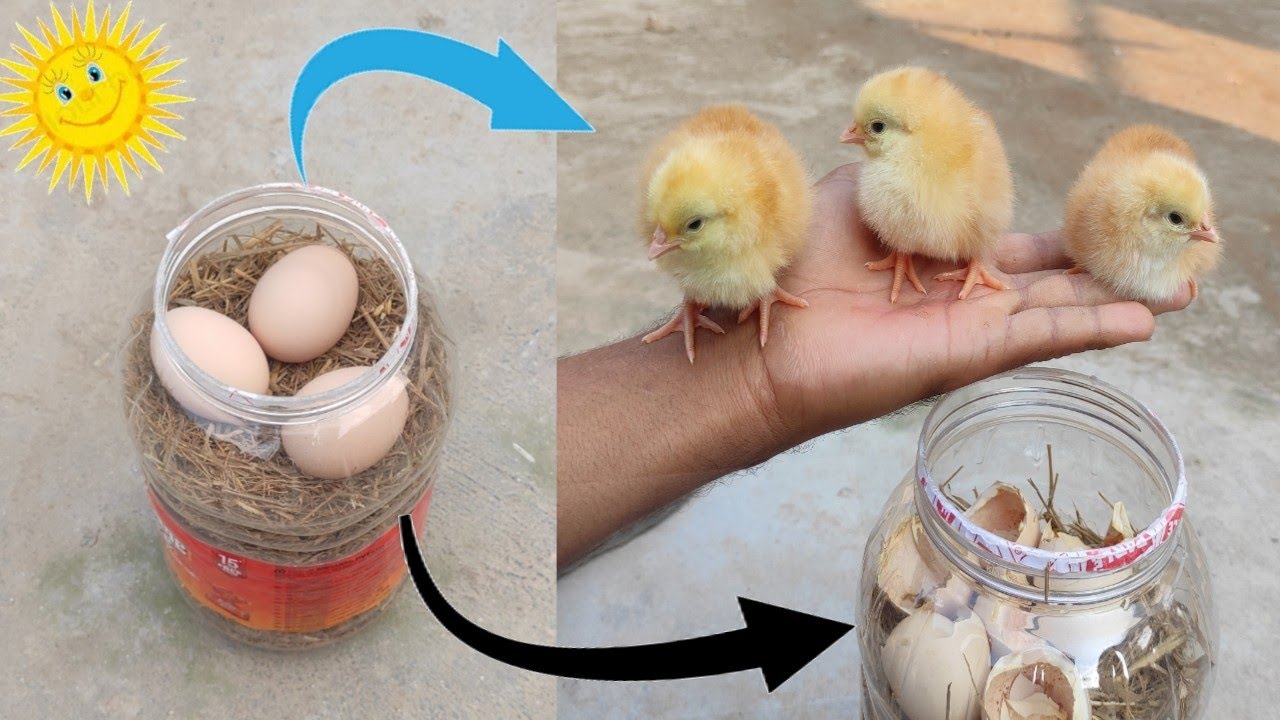
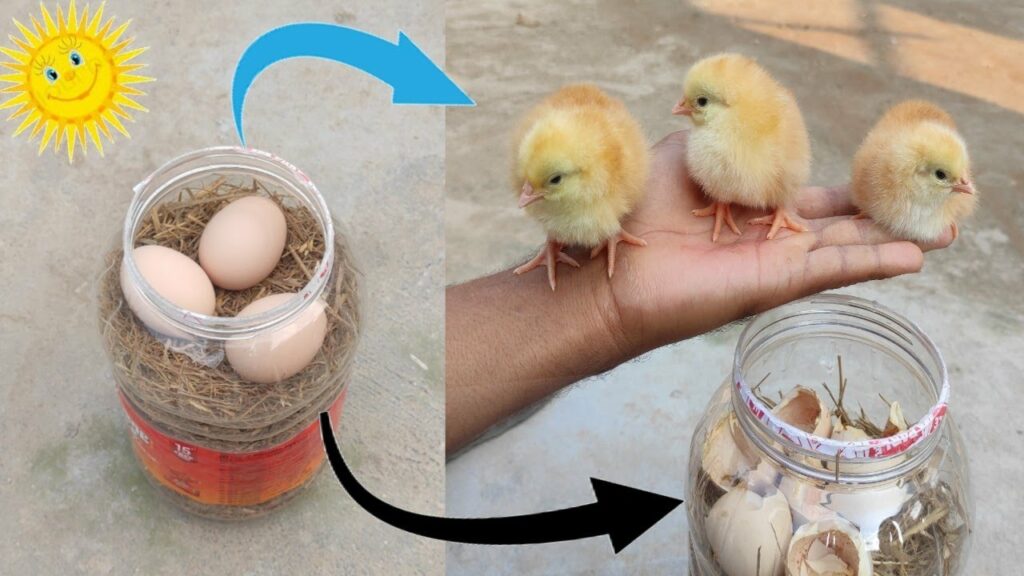
Hatching eggs without an incubator can be a rewarding experience, offering a closer look at the natural process and perhaps a bit of nostalgia too. With the right conditions and a bit of patience, you can successfully hatch eggs using just a few household items and some consistent warmth from the sun. Here’s a step-by-step guide to help you hatch eggs at home naturally, using a plastic box and the power of sunlight.
1. Gather Your Supplies
To start, you will need:
-
Fertile eggs (ensure they are from a reliable source)
-
A clear plastic box (this will act as your makeshift incubator)
-
A thermometer
-
A moist cloth or sponge
2. Setting Up Your Incubation Box
Choose a clear plastic box that is large enough to hold the number of eggs you plan to hatch and allows some space for air circulation. The transparency of the box is crucial as it will help create a greenhouse effect, using sunlight to keep the eggs warm.
How to Set Up:
-
Place a moist cloth or sponge at the bottom of the box. This will help maintain the necessary humidity inside the box.
-
Carefully place the eggs on top of the cloth or sponge. If possible, turn the eggs so the broader end is slightly higher than the pointed end, which helps the chick develop properly.
-
Put the thermometer inside the box to monitor the temperature.
3. Choosing the Right Location
The success of this method greatly depends on consistent and safe heat:
-
Place the plastic box in a location where it will get ample sunlight but is protected from harsh direct sun that might overheat the eggs. A window with indirect light or a spot with dappled shade is ideal.
-
Monitor the temperature frequently. The ideal temperature inside the box should be around 99 to 102 degrees Fahrenheit.
4. Turning the Eggs
To mimic the natural role of a mother hen, you need to turn the eggs:
-
Turn the eggs gently three to five times a day to prevent the embryo from sticking to the shell.
-
Mark each side of the eggs with a pencil (X and O) to keep track of which side was turned last.
5. Monitoring Humidity and Temperature
Consistency is key:
-
Check the moist cloth or sponge daily to ensure it remains damp but not wet.
-
Adjust the box’s position throughout the day if needed to maintain a stable temperature.
6. The Hatching Process
After about 21 days, you should start to see signs of hatching. The chicks will peck their way out of the eggs. Once hatched, they should be moved to a safe, warm brooder.
Conclusion
Hatching eggs without an incubator is a fascinating project that can bring much joy and a sense of accomplishment. This method requires careful attention to detail and a commitment to daily monitoring, but the result of seeing new chicks emerge from their shells is incredibly rewarding. Remember, not every egg may hatch, but the experience can be educational and delightful.