Fig trees are beloved for their delicious fruit and beautiful foliage. Fortunately, propagating fig trees is straightforward and rewarding. With just a few steps, you can transform branches into rooted plants, ensuring that every branch gets roots. Here’s a simple and effective way to propagate fig trees that will have you enjoying homegrown figs in no time.
Why Propagate Fig Trees?
Propagating fig trees is a great way to expand your garden or share plants with friends and family. It’s cost-effective, allows you to grow multiple plants from a single tree, and ensures the new trees maintain the same desirable traits as the parent tree.
Materials You’ll Need
-
Healthy fig tree
-
Sharp pruning shears
-
Rooting hormone (optional)
-
Small pots or containers
-
Potting mix
-
Plastic bag or plastic wrap
-
Water
Step-by-Step Guide to Fig Propagation
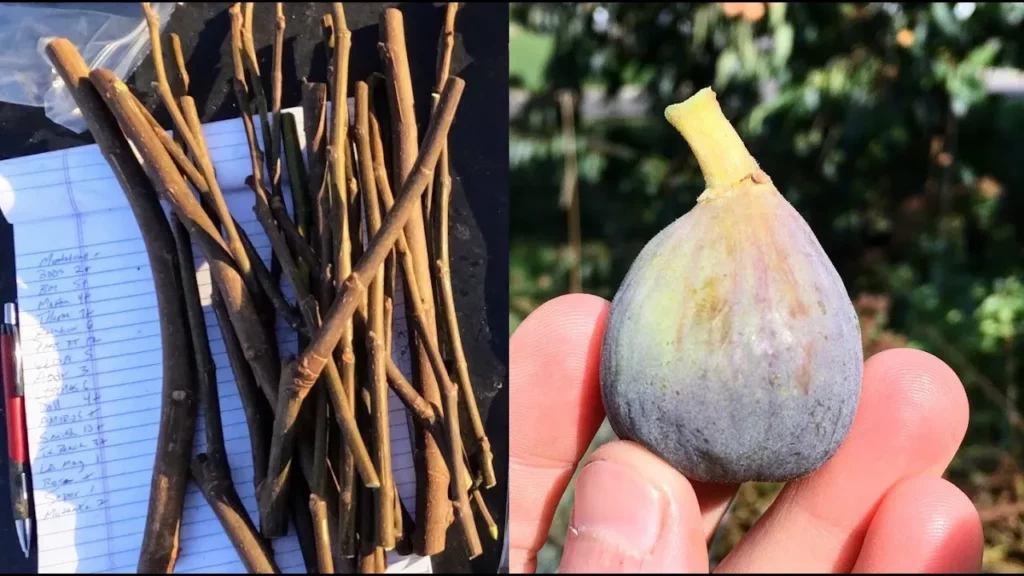
1. Choose the Right Branch
-
Select a Healthy Branch: Choose a healthy, straight branch that is about 6-12 inches long. It should have several nodes (the points where leaves grow).
-
Time It Right: The best time to take cuttings is in late winter or early spring when the tree is still dormant.
2. Prepare the Cutting
-
Cut the Branch: Using sharp pruning shears, cut the branch just below a node. Ensure the cut is clean and straight.
-
Remove Lower Leaves: Remove any leaves from the bottom half of the cutting to expose the nodes, which is where roots will form.
3. Apply Rooting Hormone (Optional)
-
Dip in Rooting Hormone: Dip the cut end of the branch in rooting hormone powder. This step is optional but can help speed up the rooting process.
4. Plant the Cutting
-
Prepare the Pot: Fill a small pot or container with a well-draining potting mix. Moisten the soil lightly.
-
Insert the Cutting: Make a hole in the soil with a pencil or stick and insert the cutting, ensuring at least one node is buried. Firm the soil around the cutting to hold it in place.
5. Create a Humid Environment
-
Cover with Plastic: Cover the pot with a plastic bag or plastic wrap to create a mini-greenhouse effect. This keeps the humidity high and helps the cutting retain moisture.
-
Ventilation: Ensure the plastic doesn’t touch the cutting. You can use sticks to keep the plastic elevated. Poke a few holes in the plastic for ventilation.
6. Care for the Cutting
-
Watering: Keep the soil moist but not waterlogged. Check the cutting regularly and mist it with water if the soil starts to dry out.
-
Light: Place the pot in a warm location with indirect sunlight. Avoid direct sunlight, which can scorch the cutting.
Root Development and Transplanting
-
Monitor for Roots: After a few weeks, check for root development by gently tugging on the cutting. If you feel resistance, roots have formed.
-
Transplant: Once the cutting has developed strong roots, it can be transplanted into a larger pot or directly into the garden. Gradually acclimate the young plant to outdoor conditions if it was started indoors.
Conclusion
Propagating fig trees from cuttings is a simple and effective way to grow new plants. By following these steps, you can ensure that every branch gets roots, allowing you to enjoy an abundance of fig trees. This method is easy enough for beginners and rewarding for seasoned gardeners. Give it a try and expand your garden with beautiful, productive fig trees.
Happy gardening!