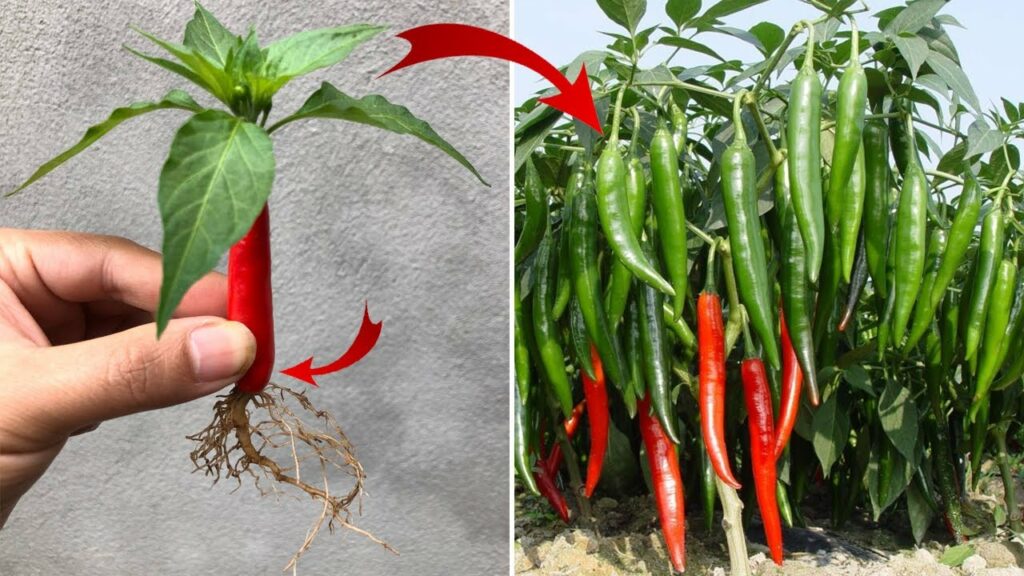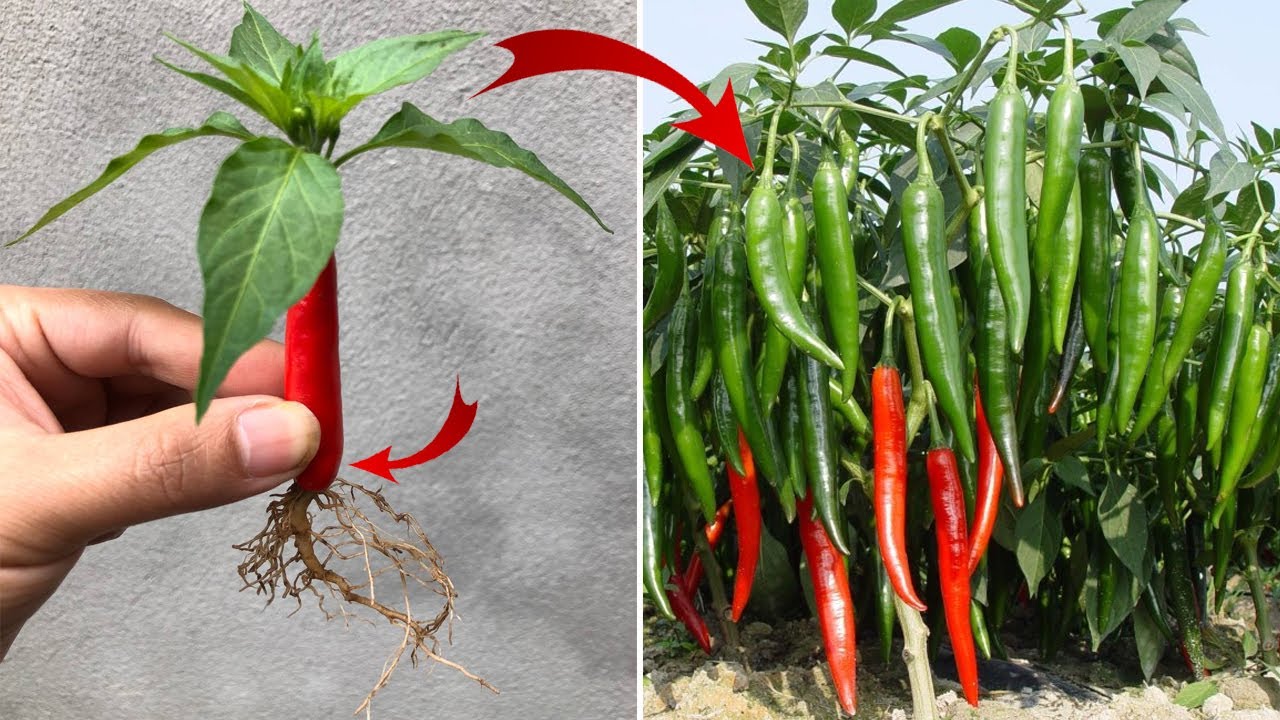
Propagation is an exciting way to expand your garden by creating new plants from your existing ones. While many are familiar with traditional methods like cuttings and seeds, there are some lesser-known techniques that can be incredibly effective. One such secret method is air layering. This technique is particularly useful for propagating woody plants and certain houseplants that can be challenging to propagate through other means. Here’s how to do it.
What is Air Layering?
Air layering is a propagation technique that encourages roots to form on a stem while it is still attached to the parent plant. This method allows for a higher success rate because the new plant remains nourished by the parent plant until it is ready to be separated.
Benefits of Air Layering
-
High Success Rate: The plant continues to receive nutrients and water from the parent plant until roots are well-established.
-
No Immediate Potting Required: The new plant doesn’t need to be potted until it has formed a strong root system.
-
Year-Round Propagation: This method can be used at any time of the year, offering flexibility for gardeners.
How to Propagate Plants Using Air Layering
Materials Needed:
-
Sharp knife or pruning shears
-
Sphagnum moss
-
Plastic wrap or aluminum foil
-
Twist ties or string
-
Rooting hormone (optional)
-
Water
Step-by-Step Instructions
1. Select the Branch
Choose a healthy, vigorous branch on the parent plant. Ideally, the branch should be about the thickness of a pencil and at least a year or two old.
2. Make the Cut
Using a sharp knife, make a cut around the circumference of the branch, approximately 12-18 inches from the tip. Make a second cut parallel to the first, about 1-2 inches apart. Remove the ring of bark and the green cambium layer, exposing the white woody tissue underneath.
3. Apply Rooting Hormone (Optional)
If desired, apply rooting hormone to the exposed area to encourage root growth.
4. Wrap with Moss
Soak sphagnum moss in water and squeeze out the excess moisture. Wrap a generous amount of the wet moss around the exposed section of the branch.
5. Cover with Plastic
Wrap the moss-covered area with plastic wrap or aluminum foil to retain moisture. Secure both ends with twist ties or string to keep the moss in place.
6. Maintain Moisture
Check the moss periodically to ensure it remains moist. If it starts to dry out, carefully open one end and moisten the moss before resealing.
7. Wait for Roots
Roots should begin to develop within a few weeks to a few months, depending on the plant species. You’ll know it’s ready when you see roots growing through the moss.
8. Cut and Plant
Once the roots are well-developed, cut the branch just below the root ball. Carefully remove the plastic and moss, and plant the new rooted section in a pot with well-draining soil.
Suitable Plants for Air Layering
-
Ficus: Commonly known as rubber plants or weeping figs.
-
Rhododendrons and Azaleas: These woody shrubs respond well to air layering.
-
Magnolia: Another woody plant that can be successfully propagated using this method.
-
Citrus Trees: Lemon, lime, and orange trees can be air-layered for propagation.
Tips for Successful Air Layering
-
Choose Healthy Branches: Always select healthy, disease-free branches for air layering.
-
Maintain Moisture: Keeping the moss moist is crucial for root development.
-
Be Patient: Some plants may take longer to develop roots, so be patient and regularly check the progress.
Conclusion
Air layering is a lesser-known but highly effective method for propagating plants. By using this technique, you can create new plants from your existing ones with a high success rate. Whether you are looking to expand your garden or share plants with friends, air layering is a valuable skill to add to your gardening repertoire. Give it a try and enjoy the satisfaction of growing new plants through this fascinating method!


