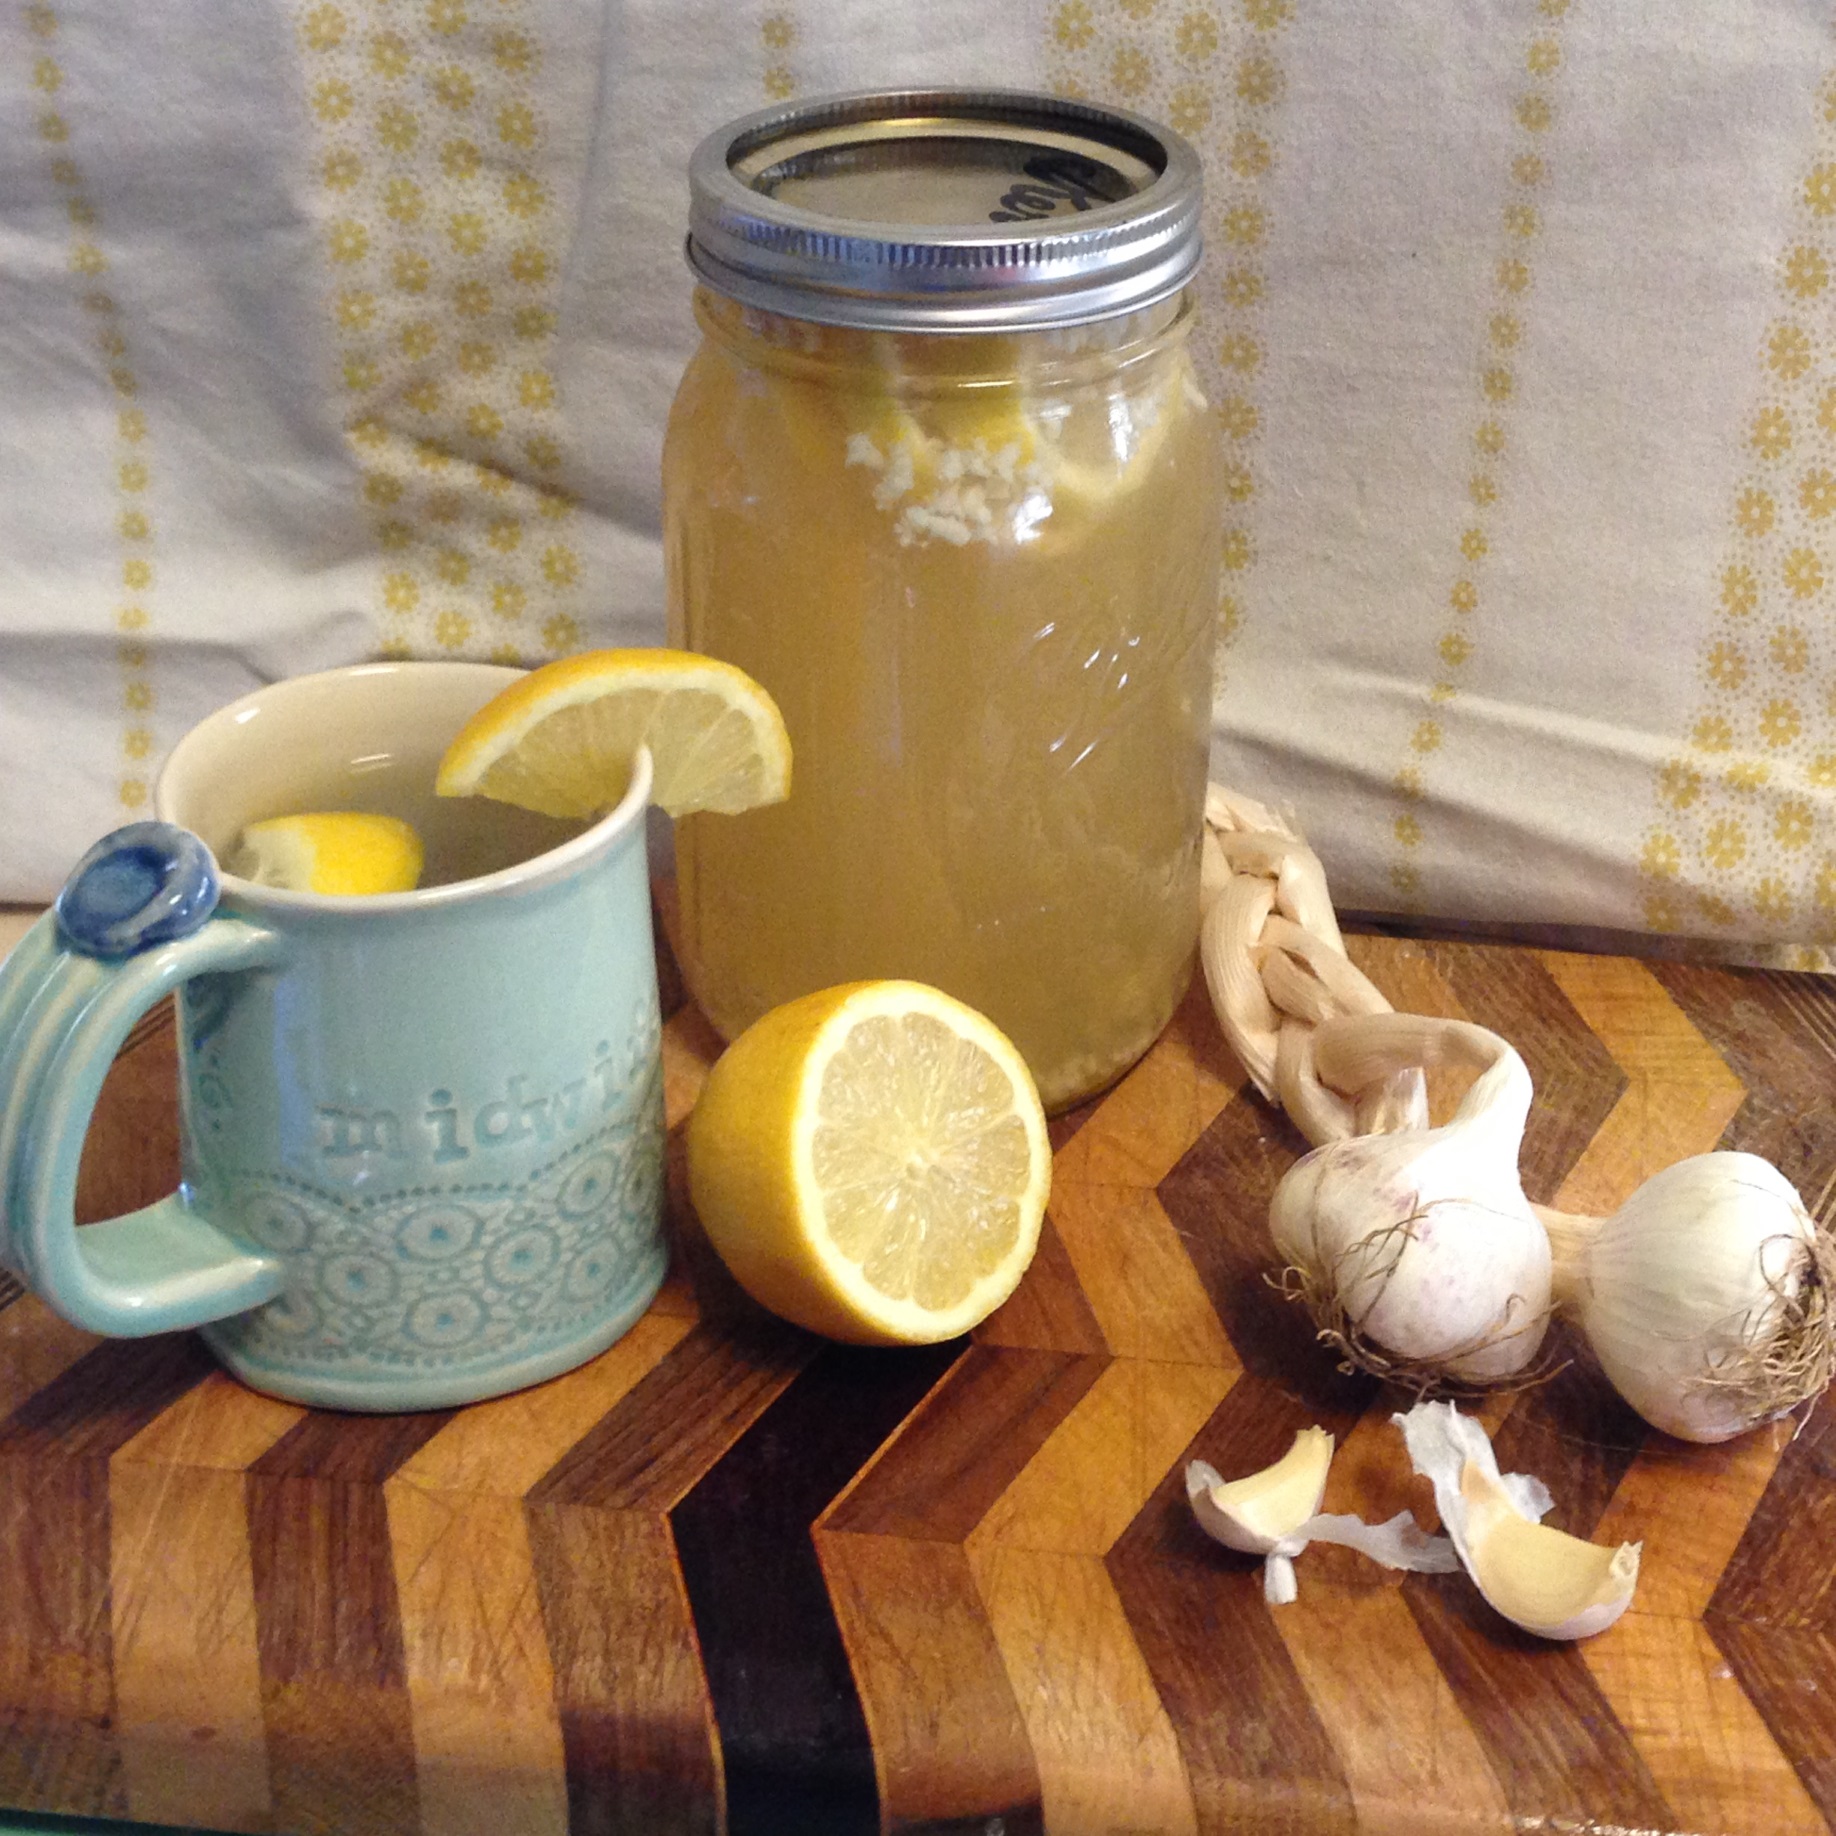
Kefir is a fermented drink that is rich in probiotics, vitamins, and minerals. It is easy to make at home and can be a healthy addition to your diet. Here’s how you can make this delicious and nutritious drink and share it with your friends.
Ingredients
-
1 tablespoon kefir grains (available online or in health food stores)
-
4 cups milk (dairy or plant-based, such as almond, coconut, or soy milk)
Instructions
1. Prepare the Ingredients
-
Choose Your Milk: Use fresh milk of your choice. Whole milk will result in a creamier kefir, while low-fat or plant-based milk can be used for a lighter version.
2. Combine the Ingredients
-
Add Kefir Grains: Place 1 tablespoon of kefir grains into a clean glass jar.
-
Pour the Milk: Add 4 cups of milk to the jar with the kefir grains.
3. Ferment the Kefir
-
Cover the Jar: Cover the jar with a clean cloth or paper towel and secure it with a rubber band. This allows the kefir to breathe while keeping out contaminants.
-
Let It Sit: Place the jar in a warm, dark place (around 68-78°F or 20-25°C) for 24-48 hours. The fermentation time depends on the temperature and your taste preference. A longer fermentation will result in a tangier kefir.
4. Strain and Store
-
Check for Fermentation: After 24 hours, check the kefir. It should have thickened and developed a tangy smell.
-
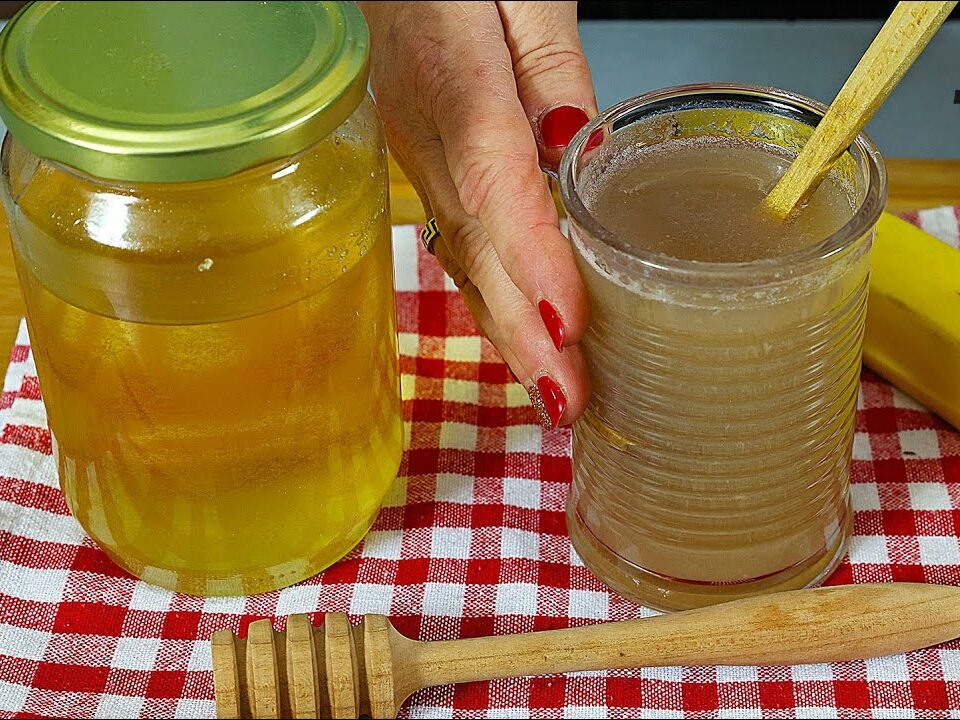
Strain the Kefir: Pour the mixture through a plastic or stainless-steel sieve into another clean jar or bowl. Use a plastic or wooden spoon to gently stir and help the kefir pass through the sieve, leaving the kefir grains behind.
-
Store the Kefir: Transfer the strained kefir to a glass jar, seal it with a lid, and store it in the refrigerator. It will continue to thicken and develop flavor as it chills.
5. Reuse the Kefir Grains
-
Rinse the Grains: Rinse the kefir grains with filtered water.
-
Repeat the Process: You can reuse the grains to make a new batch of kefir immediately or store them in a small amount of milk in the refrigerator for up to a week.
Tips for Making the Best Kefir
-
Quality Ingredients: Use high-quality milk and fresh kefir grains for the best results.
-
Fermentation Time: Adjust the fermentation time based on your taste preference. Shorter fermentation for a milder taste, longer for a tangier flavor.
-
Temperature: Keep the jar in a consistent, warm place to ensure proper fermentation.
-
Avoid Metal: Use plastic or wooden utensils when handling kefir grains, as metal can interfere with the fermentation process.
Variations
-
Flavored Kefir: After straining, you can flavor your kefir with fruits, honey, vanilla extract, or spices. Let it sit for an additional 12-24 hours in the refrigerator to infuse the flavors.
-
Smoothies: Blend kefir with fruits, greens, and a sweetener of your choice for a nutritious smoothie.
-
Salad Dressings: Use kefir as a base for creamy salad dressings by mixing it with herbs, garlic, lemon juice, and olive oil.
Benefits of Kefir
-
Probiotics: Kefir is rich in beneficial probiotics that support gut health and digestion.
-
Nutrients: It provides essential vitamins and minerals, including calcium, vitamin D, and B vitamins.
-
Immune Support: Regular consumption of kefir can help boost your immune system.
Conclusion
Making kefir at home is a simple and rewarding process that provides you with a delicious and healthy drink. By following these steps, you can enjoy fresh, homemade kefir and even teach your friends to do the same. Experiment with different flavors and uses for kefir to incorporate this nutritious drink into your daily routine. Enjoy the benefits and taste of homemade kefir!
