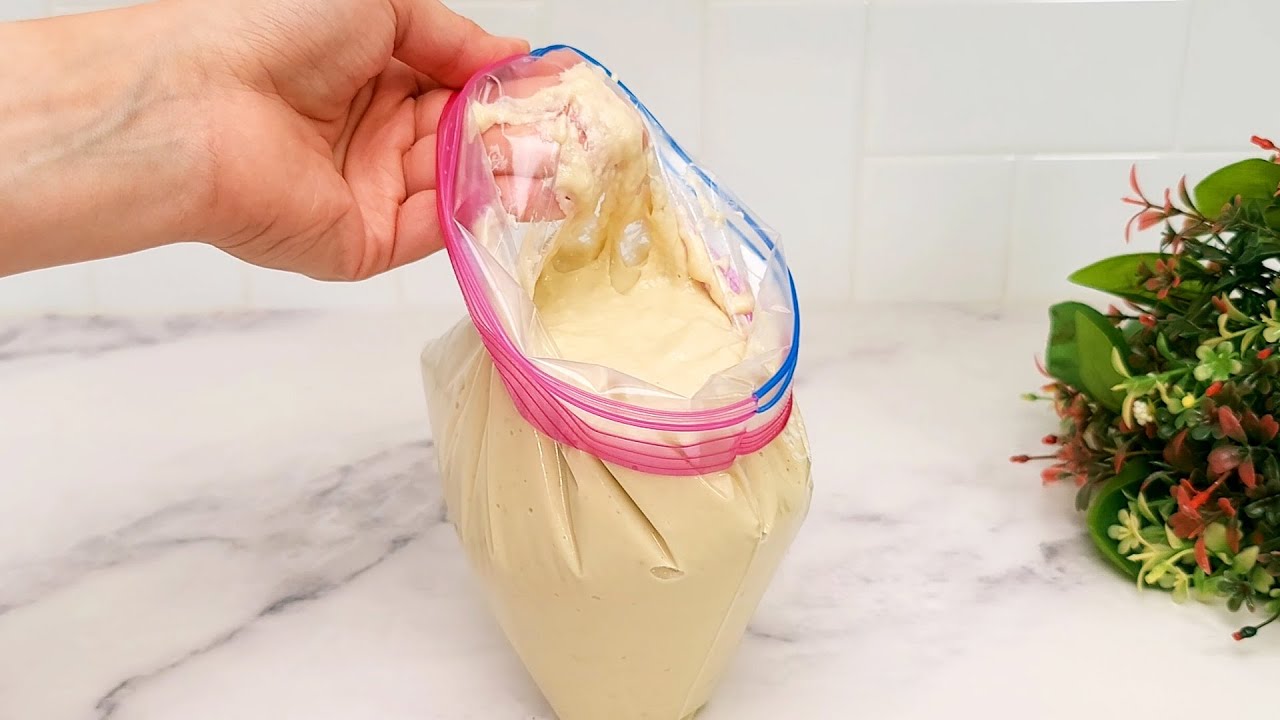
Bananas are a delicious and nutritious fruit, but they often ripen quickly, and we don’t want to waste them. A fantastic way to make the most of these ripe bananas is by making a homemade banana preserve. This recipe is easy to prepare, delicious, and can even become a business opportunity for those looking to sell. Best of all, this version doesn’t use any added sugar, making it a healthier option. Let’s learn how to make this incredible preserve that the whole family can enjoy or that you can market.
Why Make Banana Preserve?
Banana preserve is a practical way to extend the shelf life of bananas, and it’s a delicious alternative to using overripe fruit. This sweet treat can be used as a filling for pies, as a topping for bread, cakes, or even enjoyed on its own. Additionally, since it’s an easy and economical recipe, it’s a great option for those looking to prepare something different and potentially profitable for sale.
Ingredients:
-
6 ripe bananas (preferably silver or Cavendish bananas)
-
1/2 cup of water
-
1 tablespoon of lemon juice (to enhance flavor and preserve color)
-
1 cinnamon stick (optional, for added flavor)
-
Sterilized glass jars with lids for storing
Instructions:
-
Prepare the Bananas: Start by peeling the bananas and cutting them into small slices or chunks, depending on your preference.
-
Cook the Bananas: In a large saucepan, combine the banana slices, water, and lemon juice. If you’re using a cinnamon stick, add it to the mixture. Cook over medium heat, stirring occasionally, until the bananas start to break down and create a thick syrupy consistency. The natural sweetness of the bananas will intensify as they cook down. This process usually takes about 15-20 minutes.
-
Simmer and Thicken: Reduce the heat to low and continue to simmer the mixture, stirring frequently to prevent it from sticking to the pan. Cook until the bananas have fully softened and the mixture has thickened to a jam-like consistency. This should take another 20-30 minutes. If you prefer a smoother texture, you can mash the bananas as they cook.
-
Remove Cinnamon Stick: If you added a cinnamon stick, remove it before transferring the preserve to jars.
-
Jar the Preserve: While the banana preserve is still hot, carefully spoon it into sterilized glass jars, leaving about 1/4 inch of space at the top. Seal the jars tightly with lids.
-
Cool and Store: Allow the jars to cool to room temperature. Once cooled, store them in the refrigerator. The banana preserve can be kept for several weeks when stored properly.
How to Enjoy and Sell:
-
Serving Suggestions: Enjoy the banana preserve as a topping for toast, pancakes, or waffles. It’s also delicious as a filling for cakes, pies, or pastries.
-
Selling: If you’re planning to sell the banana preserve, consider adding a personalized label to the jars with the ingredients and a catchy name. Make sure to adhere to local food safety regulations if you plan to sell your product commercially.
Conclusion
Making banana preserve at home is an easy and rewarding way to use ripe bananas, creating a delicious treat that’s perfect for the family or even as a small business venture. With a few simple ingredients and steps, you can enjoy a sweet and flavorful banana preserve that’s versatile and long-lasting, all without the need for added sugar. Whether you enjoy it yourself or sell it to others, this banana preserve is sure to be a hit!
