
Making homemade aloe vera gel is a straightforward and rewarding process. With just a few simple ingredients, you can create a pure and soothing gel that’s great for skin care, minor burns, and hydration. Here’s a step-by-step guide on how to make your own plain aloe vera gel using fresh aloe vera leaves.
Ingredients Needed:
-
Fresh Aloe Vera Leaves: The fresher, the better. Look for plump, undamaged leaves that are deep green in color.
-
Vitamin C Powder: Acts as a preservative, extending the shelf life of your aloe gel.
-
Vitamin E Oil: Another preservative, which also nourishes the skin.
-
Essential Oil (optional): For added scent and additional skin benefits. Lavender or tea tree oil are popular choices for their soothing and antimicrobial properties.
Tools Required:
-
Sharp knife
-
Spoon
-
Blender
-
Sieve or cheesecloth
-
Clean jar or container for storage
Steps to Make Aloe Vera Gel:
1. Prepare the Aloe Leaves:
-
Wash and Dry: Thoroughly rinse the aloe leaves under running water to remove any dirt and pat them dry.
-
Peel the Leaves: Use a sharp knife to carefully slice off the serrated edges of each leaf. Then, slide the knife just under the skin on the flat side to peel it away and expose the clear aloe gel inside.
2. Extract the Gel:
-
Scoop Out the Gel: Use a spoon to gently scoop out the clear, jelly-like gel from the inside of the leaf. Be careful to avoid the yellowish latex of the aloe plant, which can be irritating to the skin.
3. Blend the Gel:
-
Puree the Gel: Place the clear aloe gel into a blender. For every cup of gel, add 500 mg of vitamin C powder and 400 IU of vitamin E oil. This will help preserve the gel and add skin-nourishing properties.
-
Blend Until Smooth: Blend on high for about 30 seconds or until the mixture is frothy and even.
4. Strain the Gel (optional):
-
Ensure Smoothness: If you prefer a completely smooth gel, strain the mixture through a fine sieve or cheesecloth to remove any remaining pulp or leaf bits.
5. Add Essential Oils (optional):
-
Enhance the Gel: If desired, add a few drops of essential oil to the gel after blending for fragrance or additional skin benefits. Stir well to ensure it’s evenly distributed.
6. Store the Gel:
-
Preserve Freshness: Pour the aloe vera gel into a clean, airtight jar or container. Store it in the refrigerator to maintain freshness. Properly preserved, homemade aloe vera gel can last up to one month when refrigerated.
Tips for Best Results:
-
Harvest Mature Leaves: Larger, older leaves from the base of the aloe plant tend to contain more gel.
-
Use Immediately After Cutting: Aloe vera oxidizes quickly, so it’s best to process it right after cutting for the most potent gel.
-
Cleanliness: Ensure all tools and containers are clean to avoid introducing bacteria into your gel.
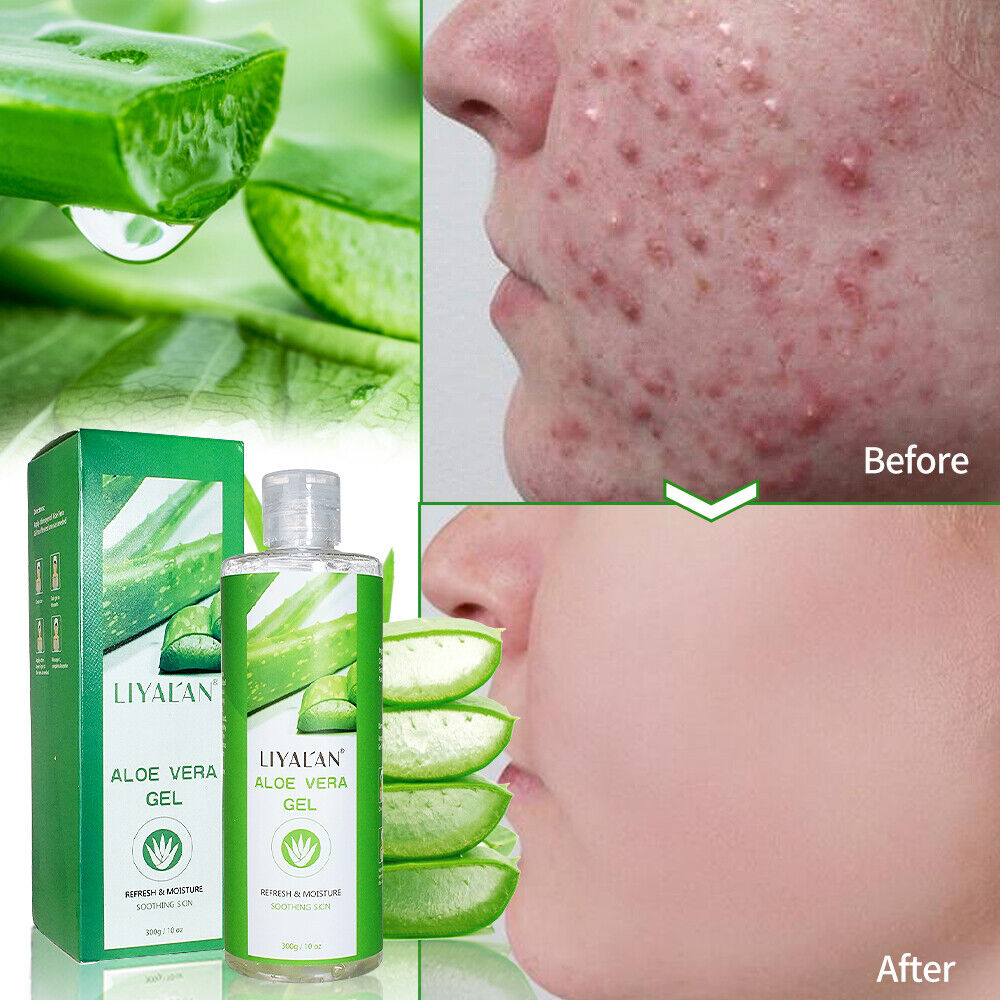
Homemade aloe vera gel is not only effective but also free from the additives found in many commercial products. This natural remedy is excellent for hydrating skin, treating sunburns, and even as a hair mask.