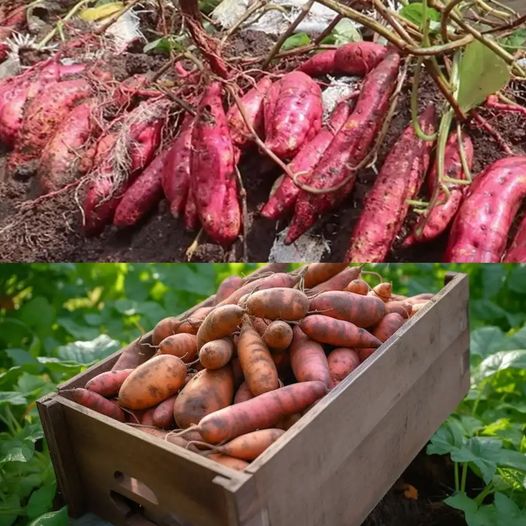

Sweet potatoes are not only delicious but also packed with nutrients, making them a fantastic addition to any home garden. Whether you are a beginner or an experienced gardener, growing sweet potatoes in soil bags is a great option. In this comprehensive guide, we will walk you through the step-by-step process of successfully cultivating sweet potatoes in soil bags.
Essential Materials
Before you start growing sweet potatoes, gather the following items:
-
Sweet potato slips (young rooted plants)
-
Soil bags or large grow bags
-
High-quality potting soil or a mixture of compost and garden soil
-
Watering can or garden hose with a gentle spray nozzle
-
Fertilizer suitable for root vegetables
-
Garden trowel or hand spade
-
Stakes or trellises (optional)
-
Mulch (straw or leaves)
Step 1: Choosing the Right Location
Select a sunny spot in your garden, preferably getting at least 6-8 hours of sunlight daily. It’s important to ensure the area has good drainage to avoid waterlogging, as sweet potatoes don’t like overly saturated soil.
Step 2: Preparing the Soil Bags
If you’re using commercial soil bags or grow bags, fill them with high-quality potting mix, leaving a few inches of space at the top. Alternatively, you can mix equal parts compost and garden soil to create your own mixture. Make sure the soil is loose and well-draining, as sweet potatoes thrive in such conditions.
Step 3: Planting Sweet Potato Slips
Sweet potato slips, which are young rooted plants, can be obtained from a nursery or grown from sweet potatoes at home. Plant them approximately 4-6 inches deep in the soil bags, spacing them 12-18 inches apart. Place each slip vertically with the roots facing downward and the leafy portion above the soil surface.
Step 4: Proper Watering
Sweet potatoes need consistent moisture, so water them regularly to keep the soil uniformly moist without over-saturation. It’s best to water them in the morning, allowing the leaves to dry during the day and reducing the risk of fungal diseases.
Step 5: Fertilization
Nourish your sweet potatoes with a balanced, slow-release fertilizer. Follow the instructions on the package, typically applying the fertilizer a few weeks after planting and periodically throughout the growing season. Be careful not to over-fertilize, as excessive foliage growth can result in smaller tubers.
Step 6: Optional Support and Trellising
If you have limited garden space or want to encourage larger sweet potatoes, consider using stakes or trellises. Gently secure the vines to these supports as they grow, making harvesting more manageable too.
Step 7: Mulching
To conserve soil moisture and suppress weed growth, apply a layer of mulch around your sweet potato plants. Suitable mulch materials include straw, leaves, or even black plastic. Avoid direct contact between the mulch and stems to prevent rot.
Step 8: Harvesting
Sweet potatoes are typically ready for harvest around 100-120 days after planting, depending on the variety and growing conditions. Carefully dig around the base of the plant and gently lift the tubers from the soil, being careful not to damage them.
Step 9: Curing and Storage
After harvesting, sweet potatoes should undergo a curing process to enhance their flavor and heal minor injuries. Place them in a warm and humid location (80-90°F or 27-32°C) for about 10-14 days. Once cured, store your sweet potatoes in a cool, dark place with proper ventilation to extend their shelf life.
Cultivating sweet potatoes in soil bags is an excellent way to enjoy this nutritious root vegetable, especially in limited spaces or less-than-ideal soil conditions. With the right materials and proper care, you can successfully grow your own sweet potatoes at home. Follow this detailed guide, and soon enough, you’ll be indulging in delicious, homegrown sweet potatoes. Happy gardening!