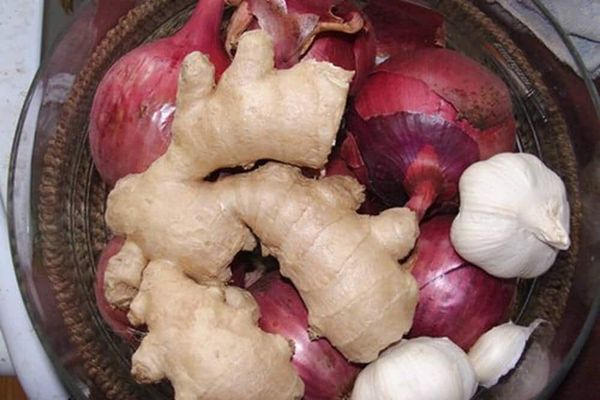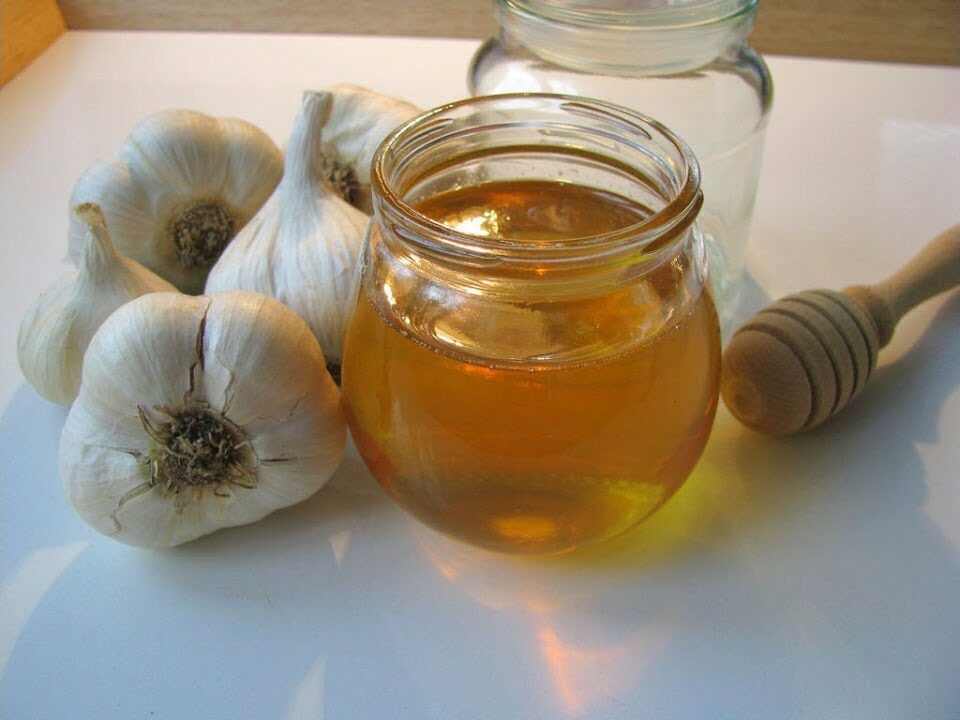
Garlic honey is a powerful natural remedy that combines the antibacterial and antiviral properties of garlic with the soothing and immune-boosting qualities of honey. This combination is great for colds, flu, sore throats, and boosting overall immunity. Plus, it’s delicious! Here’s a simple recipe to make garlic honey at home.
Ingredients:
-
10-12 fresh garlic cloves (preferably organic)
-
1 cup raw honey (preferably organic and unpasteurized)
-
A clean glass jar with a lid
Step-by-Step Instructions:
Step 1: Prepare the Garlic
-
Peel the Garlic Cloves:
-
Gently peel the skin off each garlic clove. You can do this by crushing the clove lightly with the flat side of a knife to loosen the skin, then peeling it away.
-
Step 2: Crush or Slightly Smash the Garlic
-
Crush the Cloves:
-
Lightly crush each garlic clove using the flat side of a knife or a garlic press. Crushing the garlic helps activate allicin, the compound responsible for garlic’s health benefits. Be careful not to mash it completely—just a light crush is enough.
-
Step 3: Place Garlic in the Jar
-
Add Garlic to the Jar:
-
Place the lightly crushed garlic cloves into the clean glass jar.
-
Step 4: Add the Honey
-
Pour Honey Over the Garlic:
-
Slowly pour the raw honey over the garlic cloves in the jar, ensuring that all the garlic is fully covered by the honey.
-
Step 5: Stir to Combine
-
Mix the Ingredients:
-
Use a clean spoon or a wooden stick to gently stir the garlic cloves and honey, making sure the garlic is evenly distributed and coated.
-
Step 6: Seal the Jar and Store
-
Seal the Jar:
-
Secure the lid tightly on the jar. Store the jar in a cool, dark place, such as a pantry, for about 7-10 days.
-
Step 7: Fermentation (Optional)
-
Ferment for Additional Benefits (Optional):
-
As the garlic and honey sit together, the mixture will begin to ferment slightly. This adds to its health benefits and creates a tangy, slightly fermented flavor. You can loosen the lid occasionally to let any gases escape (burping the jar), especially if you notice bubbling.
-
Step 8: Ready to Use
-
Use and Store:
-
After about a week, your garlic honey is ready to use. You can continue to store it in the pantry or refrigerator. The longer it sits, the more the flavors meld. It will keep for months in the refrigerator.
-
Step-by-Step Photos (Descriptions):
-
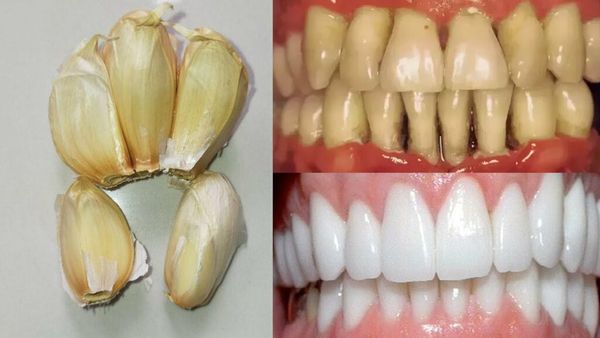
Peeling the Garlic: Show garlic cloves with skins removed.
-
Crushing the Garlic: Display a knife gently crushing the garlic cloves.
-
Adding Garlic to Jar: Photo of garlic cloves being placed into a glass jar.
-
Pouring Honey: Honey being poured over garlic cloves.
-
Sealing the Jar: The jar of garlic and honey with the lid securely tightened.
How to Use Garlic Honey:
-
For Immunity: Take 1 teaspoon daily, especially during cold and flu season, to boost your immune system.
-
For Colds and Sore Throats: Take 1-2 teaspoons when you feel a cold coming on or have a sore throat. The combination of honey and garlic will help soothe the throat and fight infections.
-
In Cooking: Use garlic honey as a glaze for roasted vegetables, chicken, or tofu for a sweet and savory dish with a health boost.
Tips:
-
Raw Honey is Best: Use raw, unpasteurized honey to get the most benefits, as it retains its enzymes and antibacterial properties.
-
Use Fresh Garlic: Fresh, organic garlic is ideal for making garlic honey, as it contains higher levels of beneficial compounds.
-
Burp the Jar: If you let the mixture ferment, be sure to “burp” the jar by loosening the lid periodically to release any gases that build up.
Conclusion:
Making garlic honey at home is simple and provides an easy, natural remedy for boosting immunity and fighting infections. With just a few ingredients and some patience, you can create this powerful home remedy to use whenever you need a little extra support for your health. Enjoy the rich, sweet, and slightly spicy flavor of garlic honey, and use it as part of your wellness routine!