African black soap, known for its natural healing properties, is a traditional skincare gem that originates from West Africa. It is typically made from locally harvested plants such as plantain skins, cocoa pods, palm tree leaves, and shea tree bark. This soap is renowned for its ability to help combat acne, soothe eczema, reduce blemishes, and deeply cleanse the skin without stripping it of moisture. Making your own organic African black soap allows you to customize ingredients to suit your skin type while ensuring all components are natural and ethically sourced.
Ingredients You’ll Need:
- Plantain Skins: Rich in vitamins A and E and iron.
- Cocoa Pods: High in antioxidants.
- Palm Oil: Contains vitamin E and red palm oil is especially beneficial for its high tocopherol content.
- Coconut Oil: Adds lathering and moisturizing properties.
- Shea Butter: For its moisturizing and skin-soothing benefits.
- Essential Oils (optional): For fragrance and added skin benefits.
- Water: Distilled water is preferred for purity.
Tools Needed:
- Gloves: To protect your hands during the soap-making process.
- A large pot or cauldron: For cooking the soap mixture.
- Wooden spoon: For stirring.
- Mold: Any shape or size, depending on your preference.
- Blender or food processor: For grinding the plant materials.
Steps to Make Your Own African Black Soap:
- Prepare the Ash:
- Sun-dry plantain skins, cocoa pods, and palm leaves. Once dried, burn them to ash in a clean, stainless steel pot. The ash is key to the soap as it contains the potash that saponifies the oils.
- Mix Oils and Ash:
- Boil water and add it to the ash to create potash lye.
- In a separate pot, gently heat the palm oil, coconut oil, and shea butter until fully melted.
- Slowly add the potash lye to the oil mixture while stirring continuously. Be cautious as this reaction can be quite exothermic (produces heat).
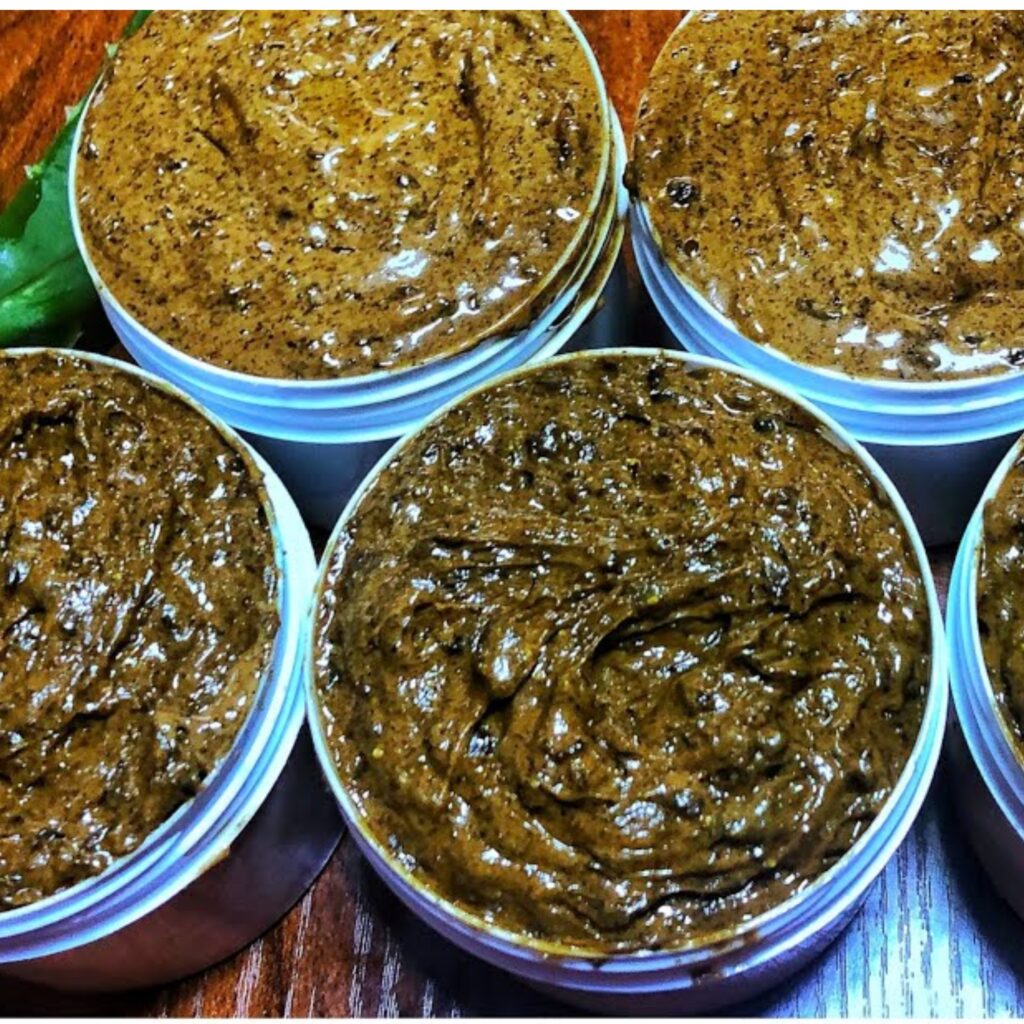
- Cook the Soap:
- Continue to cook the mixture while stirring frequently to ensure it doesn’t burn. The mixture should start to thicken and darken.
- Once fully integrated and thickened, which might take about an hour, remove from heat.
- Blend and Mold:
- If you prefer a smoother texture, blend the soap mixture in a food processor or blender (ensure it’s cool enough to handle safely).
- Pour the soap into molds. Use any shape or size you like.
- Curing:
- Allow the soap to cure in the molds for at least 24 hours or until completely solidified.
- Remove from molds and let it cure in the air for two weeks to complete the saponification process and let the water content reduce.
- Usage Tips:
- When using the soap, especially for the first time, test it on a small area of your skin to ensure there is no irritation.
- African black soap is typically quite potent, so it’s recommended for use once or twice a week rather than daily.
Benefits:
Using African black soap can lead to clearer, softer, and more balanced skin. Its natural ingredients make it a highly effective cleanser that is typically suitable for all skin types. By making your own soap, you can ensure it’s free from preservatives, colorants, and artificial fragrances found in commercial soaps.
Crafting your own African black soap can be a deeply satisfying DIY project that not only benefits your skin but also connects you with an age-old tradition of natural skincare.