
Discover the joys of making your own apple cider vinegar (ACV) right in your kitchen. Not only is it a fun and rewarding process, but homemade ACV also offers a fresher, purer alternative to store-bought versions. Whether you’re using it for culinary delights, health remedies, or both, mastering this simple recipe can add a new level of satisfaction to your home cooking.
Why Make Your Own Apple Cider Vinegar?
Creating your own ACV ensures you know exactly what goes into it, avoiding any additives or preservatives found in some commercial brands. Plus, the homemade version retains more of the natural enzymes and nutrients that make apple cider vinegar a celebrated health booster.
What You Need:
-
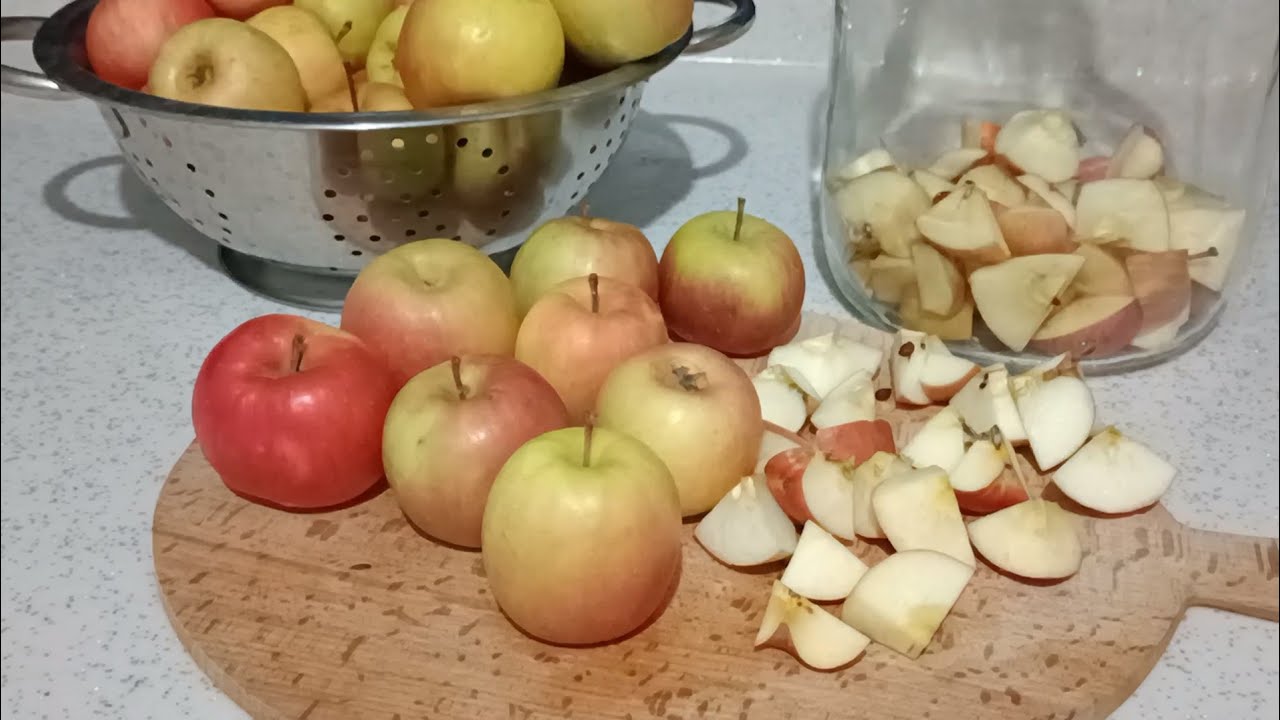
3-4 whole apples (cores and peels included)
-
2 tablespoons of sugar
-
Filtered water
-
A large glass jar
-
Cheesecloth or paper coffee filter
-
Rubber band
Step-by-Step Guide to Homemade ACV:
-
Prepare the Apples: Wash and chop your apples into small pieces, including the cores and peels, as they contain natural yeast needed for fermentation.
-
Jar Setup: Place the chopped apples in your glass jar, filling it about three-quarters full.
-
Sugar Water: Dissolve the sugar in enough water to cover the apples. This sugar aids the fermentation process. Pour the sugar water into the jar until the apples are completely submerged.
-
Cover and Store: Cover the jar with a cheesecloth or a coffee filter and secure it with a rubber band. This allows the mixture to breathe while keeping out flies and debris.
-
First Fermentation: Let the jar sit in a warm, dark place for about 3-4 weeks. During this time, the sugars will ferment into alcohol; you may see bubbles as a sign of this process.
-
Strain and Second Fermentation: After the initial fermentation, strain out the solid pieces and return the liquid to the jar. Cover it again and let it ferment for another 4-6 weeks, stirring occasionally. This is when the alcohol turns into acetic acid, giving vinegar its characteristic sour taste.
-
Taste and Store: Once the vinegar reaches your desired acidity, it’s ready to use. Store it in a sealed container at room temperature.
Tips for Success:
-
Patience is Key: The fermentation process can’t be rushed. The longer you let your vinegar ferment, the stronger and more developed its flavor will be.
-
Quality Ingredients: Use organic apples if possible, as they tend to provide the best results in terms of flavor and health benefits.
-
Regular Checks: Keep an eye on your vinegar during fermentation. If you notice any mold, it’s best to discard the batch and start anew, as mold can affect the taste and safety of your vinegar.
Enjoy Your Creation:
Homemade apple cider vinegar can be used just like any commercial vinegar. It’s excellent in salad dressings, marinades, or as a daily health tonic mixed with water. The pride of using vinegar that you made yourself enhances its flavor all the more!