Making bread at home doesn’t have to involve complicated recipes or even an oven. With just flour and water, you can create a delightful rustic bread that’s perfect for any meal. This no-oven method is surprisingly simple and produces a loaf with a pleasant texture and a crusty exterior. Whether you’re a seasoned baker or new to the craft, this recipe will make you feel like a true artisan. Here’s how to whip up your own rustic bread using just flour and water.
Ingredients:
-
3 cups of all-purpose flour
-
1 teaspoon of salt (optional for taste)
-
Approximately 1 1/2 cups of water
Equipment Needed:
-
Large bowl
-
Wooden spoon
-
Stovetop pan or skillet with a lid
Steps to Make No-Oven Rustic Bread:
1. Mix the Ingredients:
-
In a large bowl, combine the flour with salt if using. Gradually add water and stir with a wooden spoon until the mixture begins to form a dough. The exact amount of water might vary slightly depending on the humidity and the type of flour used.
2. Knead the Dough:
-
Turn the dough onto a floured surface and knead it for about 5-10 minutes until it becomes smooth and elastic. If the dough is too sticky, add a little more flour as you knead.
3. Let the Dough Rest:
-
Place the dough back in the bowl, cover it with a cloth, and let it rest for about 30 minutes. This resting period helps the gluten to develop, which will give your bread a nice texture.
4. Shape the Dough:
-
After resting, shape the dough into a round loaf by tucking the edges underneath. This will help create tension on the surface for a better rise.
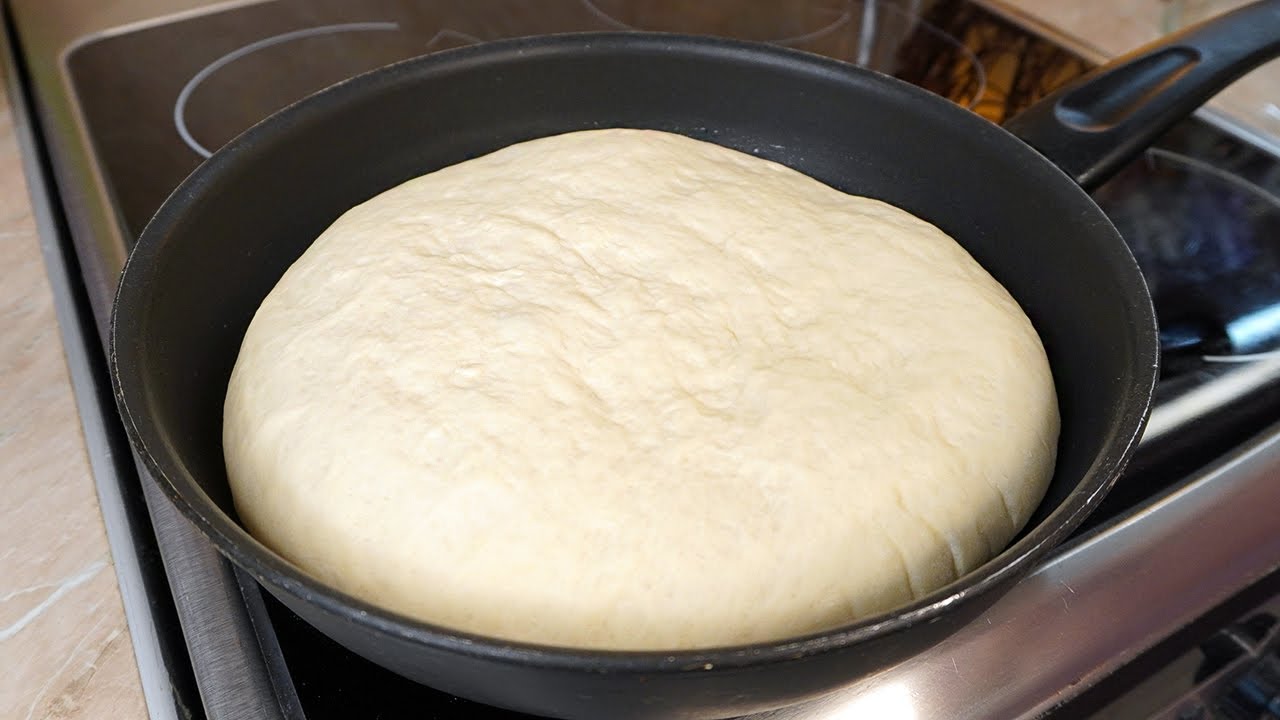
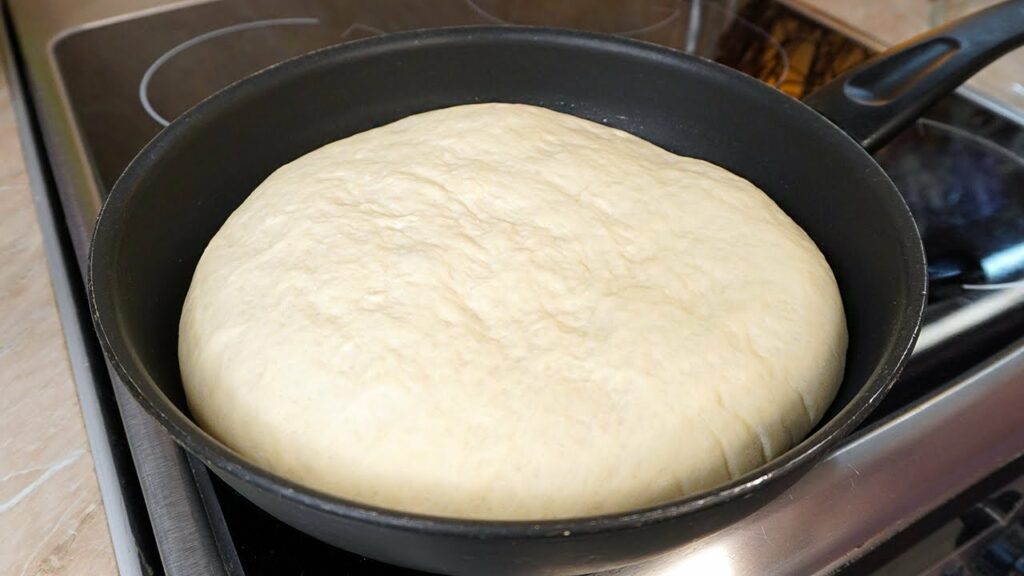
5. Cook the Bread:
-
Heat a large skillet (cast iron works best) over medium heat. Carefully place your dough in the skillet and cover it with a lid. Cook for about 15-20 minutes on one side, then flip the bread carefully using two spatulas and cover again. Cook for another 15-20 minutes on the other side until the bread sounds hollow when tapped.
6. Cool and Serve:
-
Remove the bread from the skillet and let it cool on a wire rack for at least 10 minutes before slicing. This cooling period helps the interior finish cooking with the residual heat and sets the crust.
Tips for Success:
-
Skillet Selection: Use a heavy-bottomed skillet to ensure even heat distribution and prevent burning.
-
Temperature Control: Keep the heat medium to low to bake the bread slowly and evenly without burning the crust.
-
Serving Suggestions: This rustic bread pairs wonderfully with soups, stews, or simply a drizzle of olive oil and a sprinkle of herbs.
Conclusion:
Making rustic bread with just flour and water is a fun and rewarding process that brings the joy of baking into any home. This no-oven method not only simplifies the baking process but also opens up a world of delicious, homemade bread that is as simple as it is satisfying. Give it a try, and enjoy the warm, comforting aroma of freshly baked bread right from your stovetop.