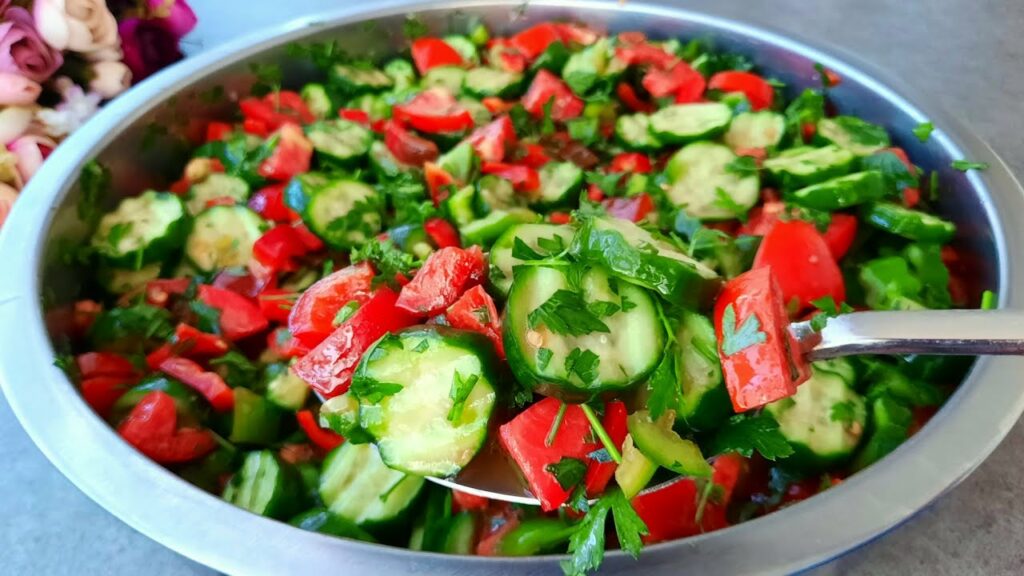
Preserving fresh salad ingredients throughout the winter can be a challenge, especially without traditional methods like sterilization. However, there’s an ancient and highly effective technique that not only keeps your salads fresh but also enhances their nutritional value: fermentation. Here’s a step-by-step guide on how to use this method to preserve your salad ingredients, ensuring you have crisp, nutritious salads even in the coldest months.
Why Fermentation Works
Fermentation is a natural process that relies on beneficial bacteria to convert sugars and starches into lactic acid. This creates an environment that preserves the vegetables and inhibits the growth of harmful bacteria. Additionally, fermented foods are rich in probiotics, which are good for gut health.
Ingredients for a Basic Fermented Salad Mix
-
Cabbage
-
Carrots
-
Cucumbers
-
Bell peppers
-
Garlic
-
Dill (optional)
-
Mustard seeds (optional)
-
Salt
-
Water
Steps to Prepare Fermented Salad
-
Choose and Prepare Your Vegetables:
-
Select fresh, firm vegetables. Wash them thoroughly under cold running water.
-
Shred or chop the vegetables into bite-sized pieces. For garlic, peel and lightly crush the cloves.
-
-
Make a Brine:
-
The brine is crucial for fermentation. Dissolve approximately 2-3 tablespoons of non-iodized salt per quart (liter) of water. Ensure the salt is fully dissolved.
-
-
Layer the Ingredients:
-
In a clean, large glass jar or a fermentation crock, start layering your vegetables. You can sprinkle mustard seeds, dill, or other spices between the layers for added flavor.
-
Press down the vegetables as you go to eliminate air pockets and promote an anaerobic environment, which is necessary for proper fermentation.
-
-
Pour the Brine:
-
Pour the brine over the vegetables, ensuring they are completely submerged. Leave about an inch of space at the top of the jar.
-
-
Seal and Store:
-
If using a jar, you can cover it with a cloth and secure it with a rubber band or use a proper fermentation lid to allow gases to escape.
-
Store the jar in a cool, dark place. The ideal fermentation temperature is between 55-75°F (13-24°C).
-
-
Check Regularly:
-
Check your vegetables every few days. You may need to release gases if using a sealed lid, and ensure the vegetables stay submerged by pressing them down.
-
-
Taste Test:
-
After about one week, start tasting your salad. Once it reaches a flavor and acidity you like, move it to the refrigerator. This slows fermentation significantly.
-
Using Your Fermented Salad
-
Fermented vegetables can be enjoyed as is or mixed into fresh salads to add flavor and crunch.
-
They can last for several months in the refrigerator, providing you with a continuous supply of fresh-tasting, nutritious salad ingredients.
Benefits
-
This method doesn’t require heat or sterilization, thus preserving the enzymes and vitamins that are often lost during cooking.
-
Fermentation can enhance the bioavailability of nutrients, making your salads not just tasty but also more nutritious.
By adopting fermentation, you can enjoy the crunch and taste of fresh salads all winter long, and the process itself is both fun and rewarding. Once you start, you might find that 100 jars are indeed not enough!


