
Using garlic topically is a smart move that acts like a natural antifungal-shield and regrowth-spark for your hands and feet. This “penetrative treasure” works so well because garlic is “packed” with allicin—a powerful compound that “attacks” deep-seated infections and “stops” the “heavy” look of yellow, thickened nails. It is an easy and 100% natural way to “fix” brittle edges, “erase” the “dull” look of fungal stains, and “keep” your nail beds healthy, leaving your nails feeling clear and translucent almost immediately.
Instead of spending money on expensive chemical lacquers or specialty nail treatments, this kitchen staple “commands” your nails to heal from the root. It works by delivering concentrated sulfur to the keratin and “making” the “heavy” feeling of persistent infections “go away.” Once you “try” this pungent and powerful trick, you will be surprised at how “quickly” your nail health improves and why your new growth stays strong every day!
Why Garlic is a Total-Nail Treasure
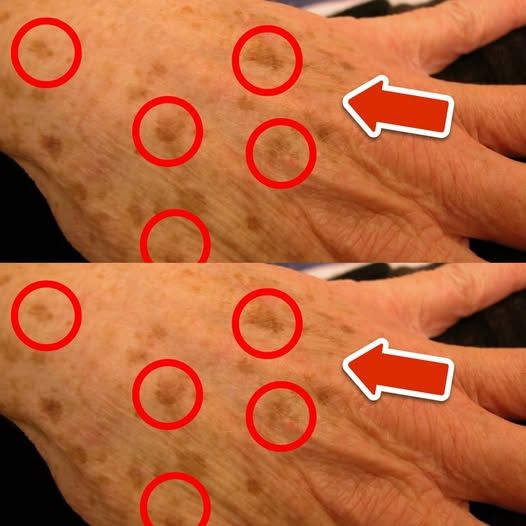
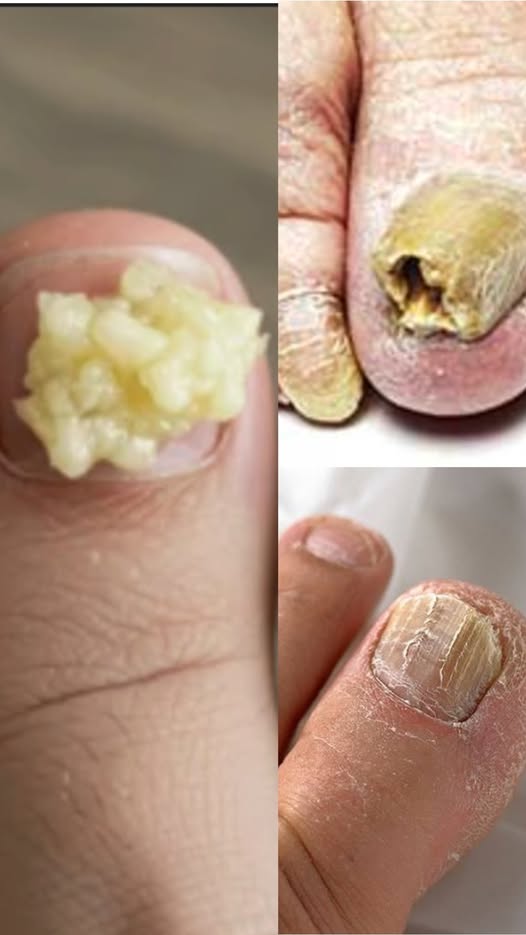
- The Fungus Eraser: Allicin “helps” kill the microbes that cause yellowing and thickening, taking away the “cloudy” look and keeping the nail clear.
- The Keratin Guard: The sulfur in garlic “tells” the nail proteins to bond more tightly, helping to “stop” splitting and peeling fast.
- The Growth Fix: Topical application “attacks” poor circulation in the fingertips, getting rid of slow growth and making your nails grow long.
- The Infection Spark: Its natural antibiotic properties “give” the skin around the nail a protective wall, reducing the “red” look of irritation.
- The Strength Lift: Garlic “soaks into” the porous layers of the nail, giving you an instant boost in structural firmness.
Recipe for the “Deep-Action” Garlic Nail Treatment
This is the best way to use the garlic so the “healing juices” penetrate the hard surface of the nail and reach the nail bed.
Ingredients:
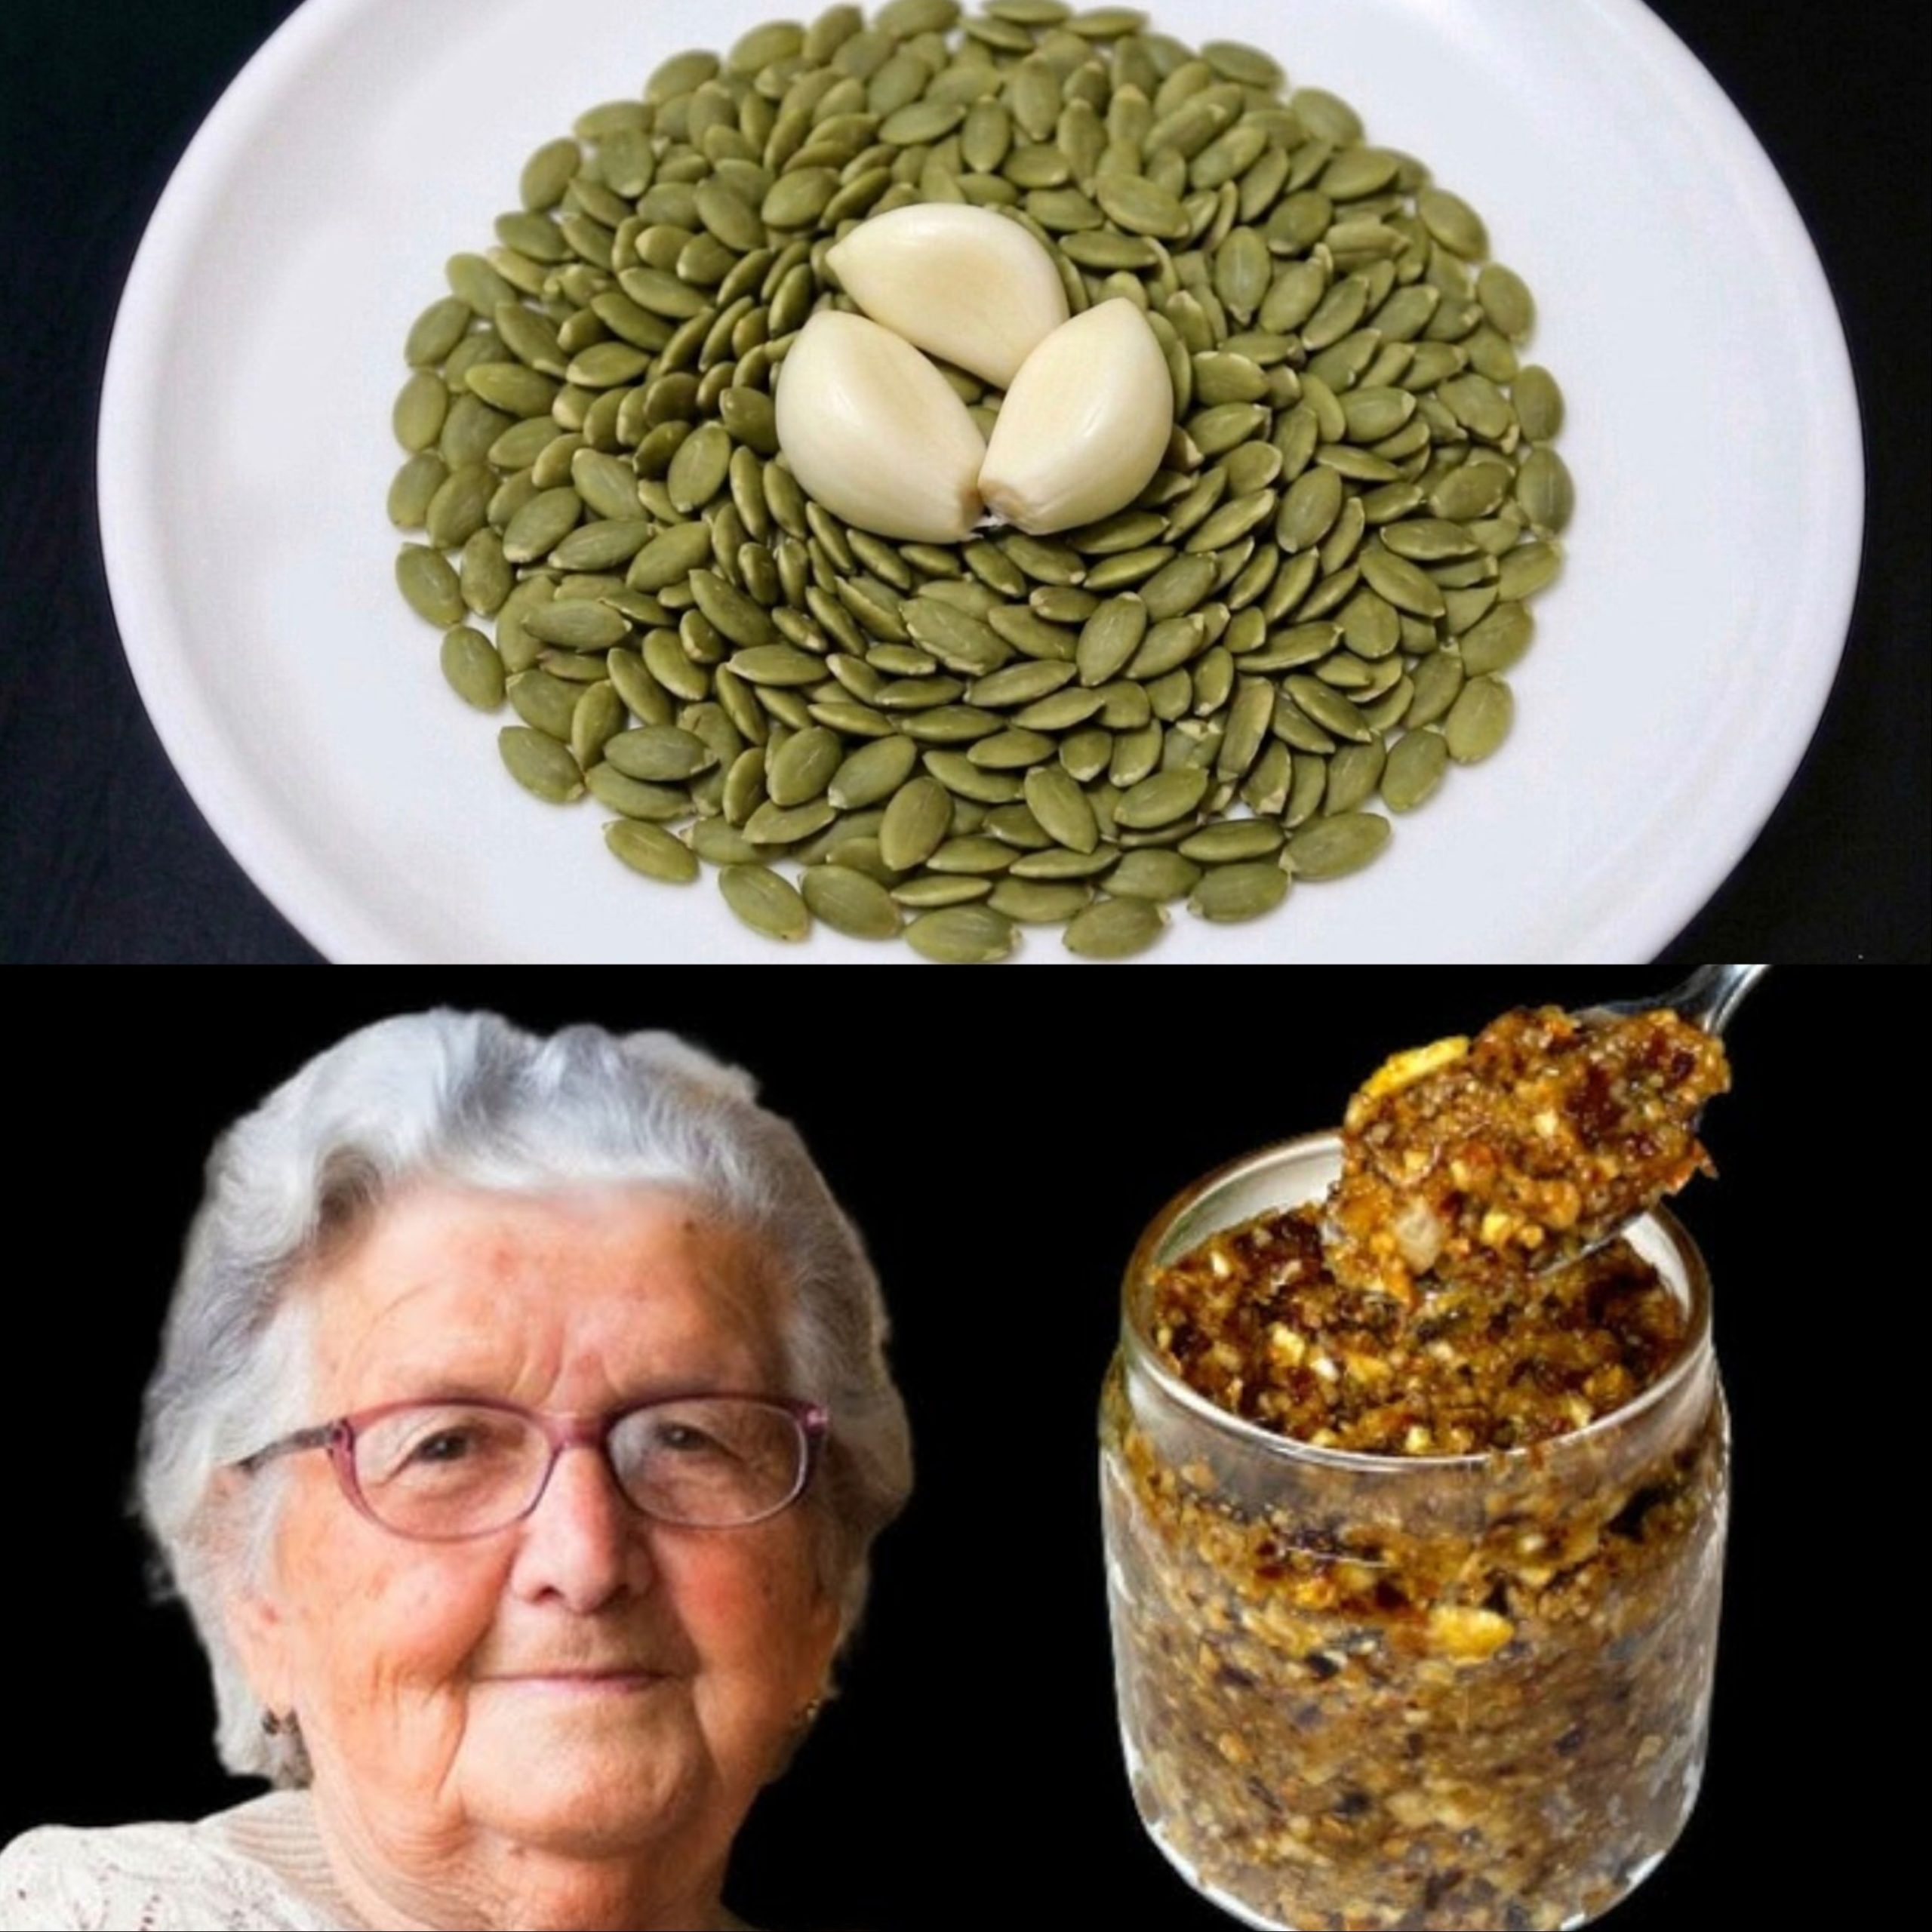
- 1 fresh garlic clove
- A few drops of olive oil
- Clear nail polish (optional for a long-term shield)
Instructions:
- The Crush: Finely mince or crush the garlic clove. This “helps” the allicin activate “instantly” for the best results.
- The Mix: Let the garlic sit for 5 minutes, then mix it with the olive oil. This “starts” the infusion process “immediately” as the oils blend.
- The Apply: Rub the mixture directly onto the nail and the skin around it. This “tells” the active agents to soak deep into the keratin.
- The Focus: Let the mixture sit for 15 to 20 minutes. This “signals” the sulfur to penetrate the deep-seated stains.
- The Rinse: Wash your hands with warm water and a mild soap. This “helps” remove the strong scent while leaving the protection behind.
- The Result: An instant feeling of nail firmness and a clear increase in nail clarity after just a few applications.
Three Tips for Professional Results
- The “Polish” Trick: Add a little finely minced garlic to a bottle of clear nail polish! It “works” to ensure your nails get a “constant” dose of sulfur, making your “strengthening treatment” invisible and effective.
- The Nighttime Secret: Apply the garlic-oil mix and wear cotton gloves to bed. This “attacks” the “stubborn” infections, making your nail beds feel healthy and renewed by morning.
- The Freshness Rule: You must use fresh garlic cloves! Pre-peeled or jarred garlic “is” where the most active allicin has faded, so choosing “the fresh ones” helps you stay radiant.
A Simple Final Tip
You’ll know the Garlic-Nail Secret is working when you realize your “nails are no longer brittle” and the “new growth looks perfectly clear!” It is the best way to look your best using a simple treasure from your vegetable bin.