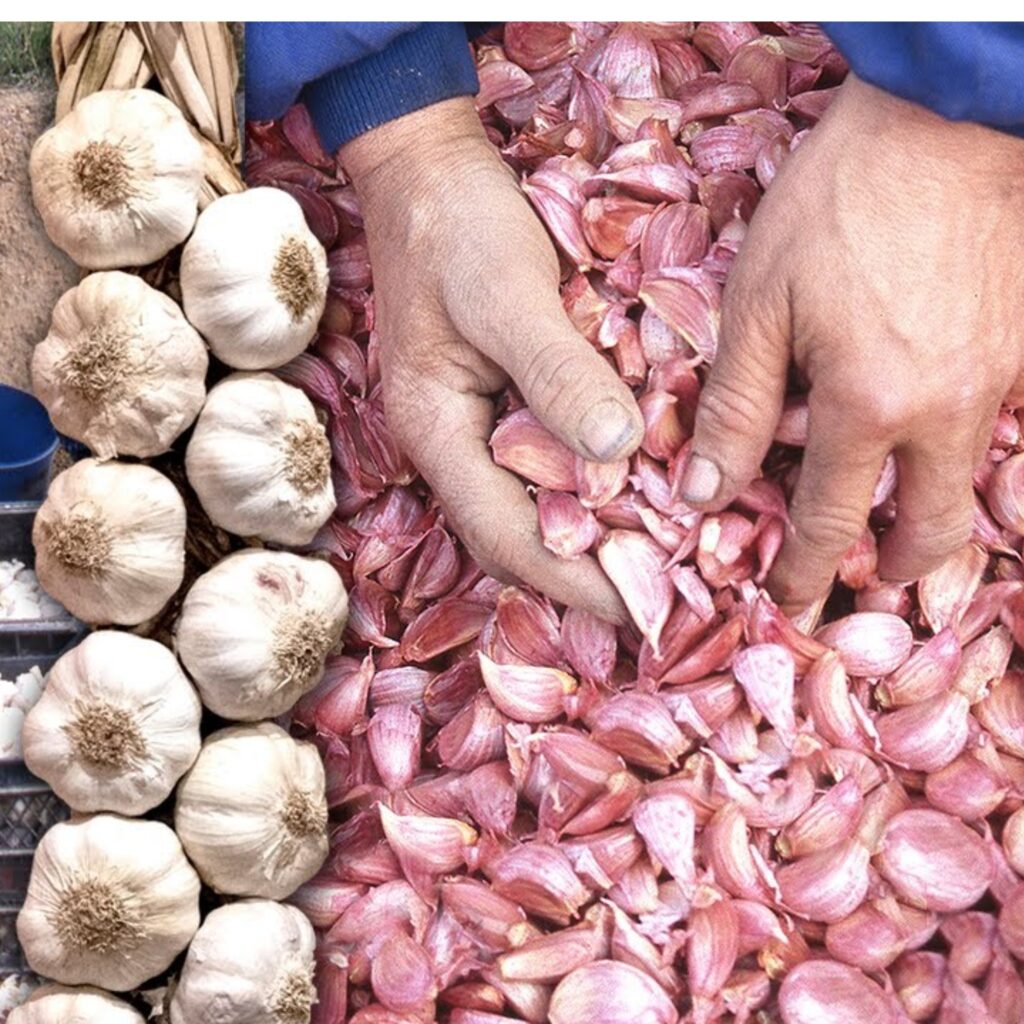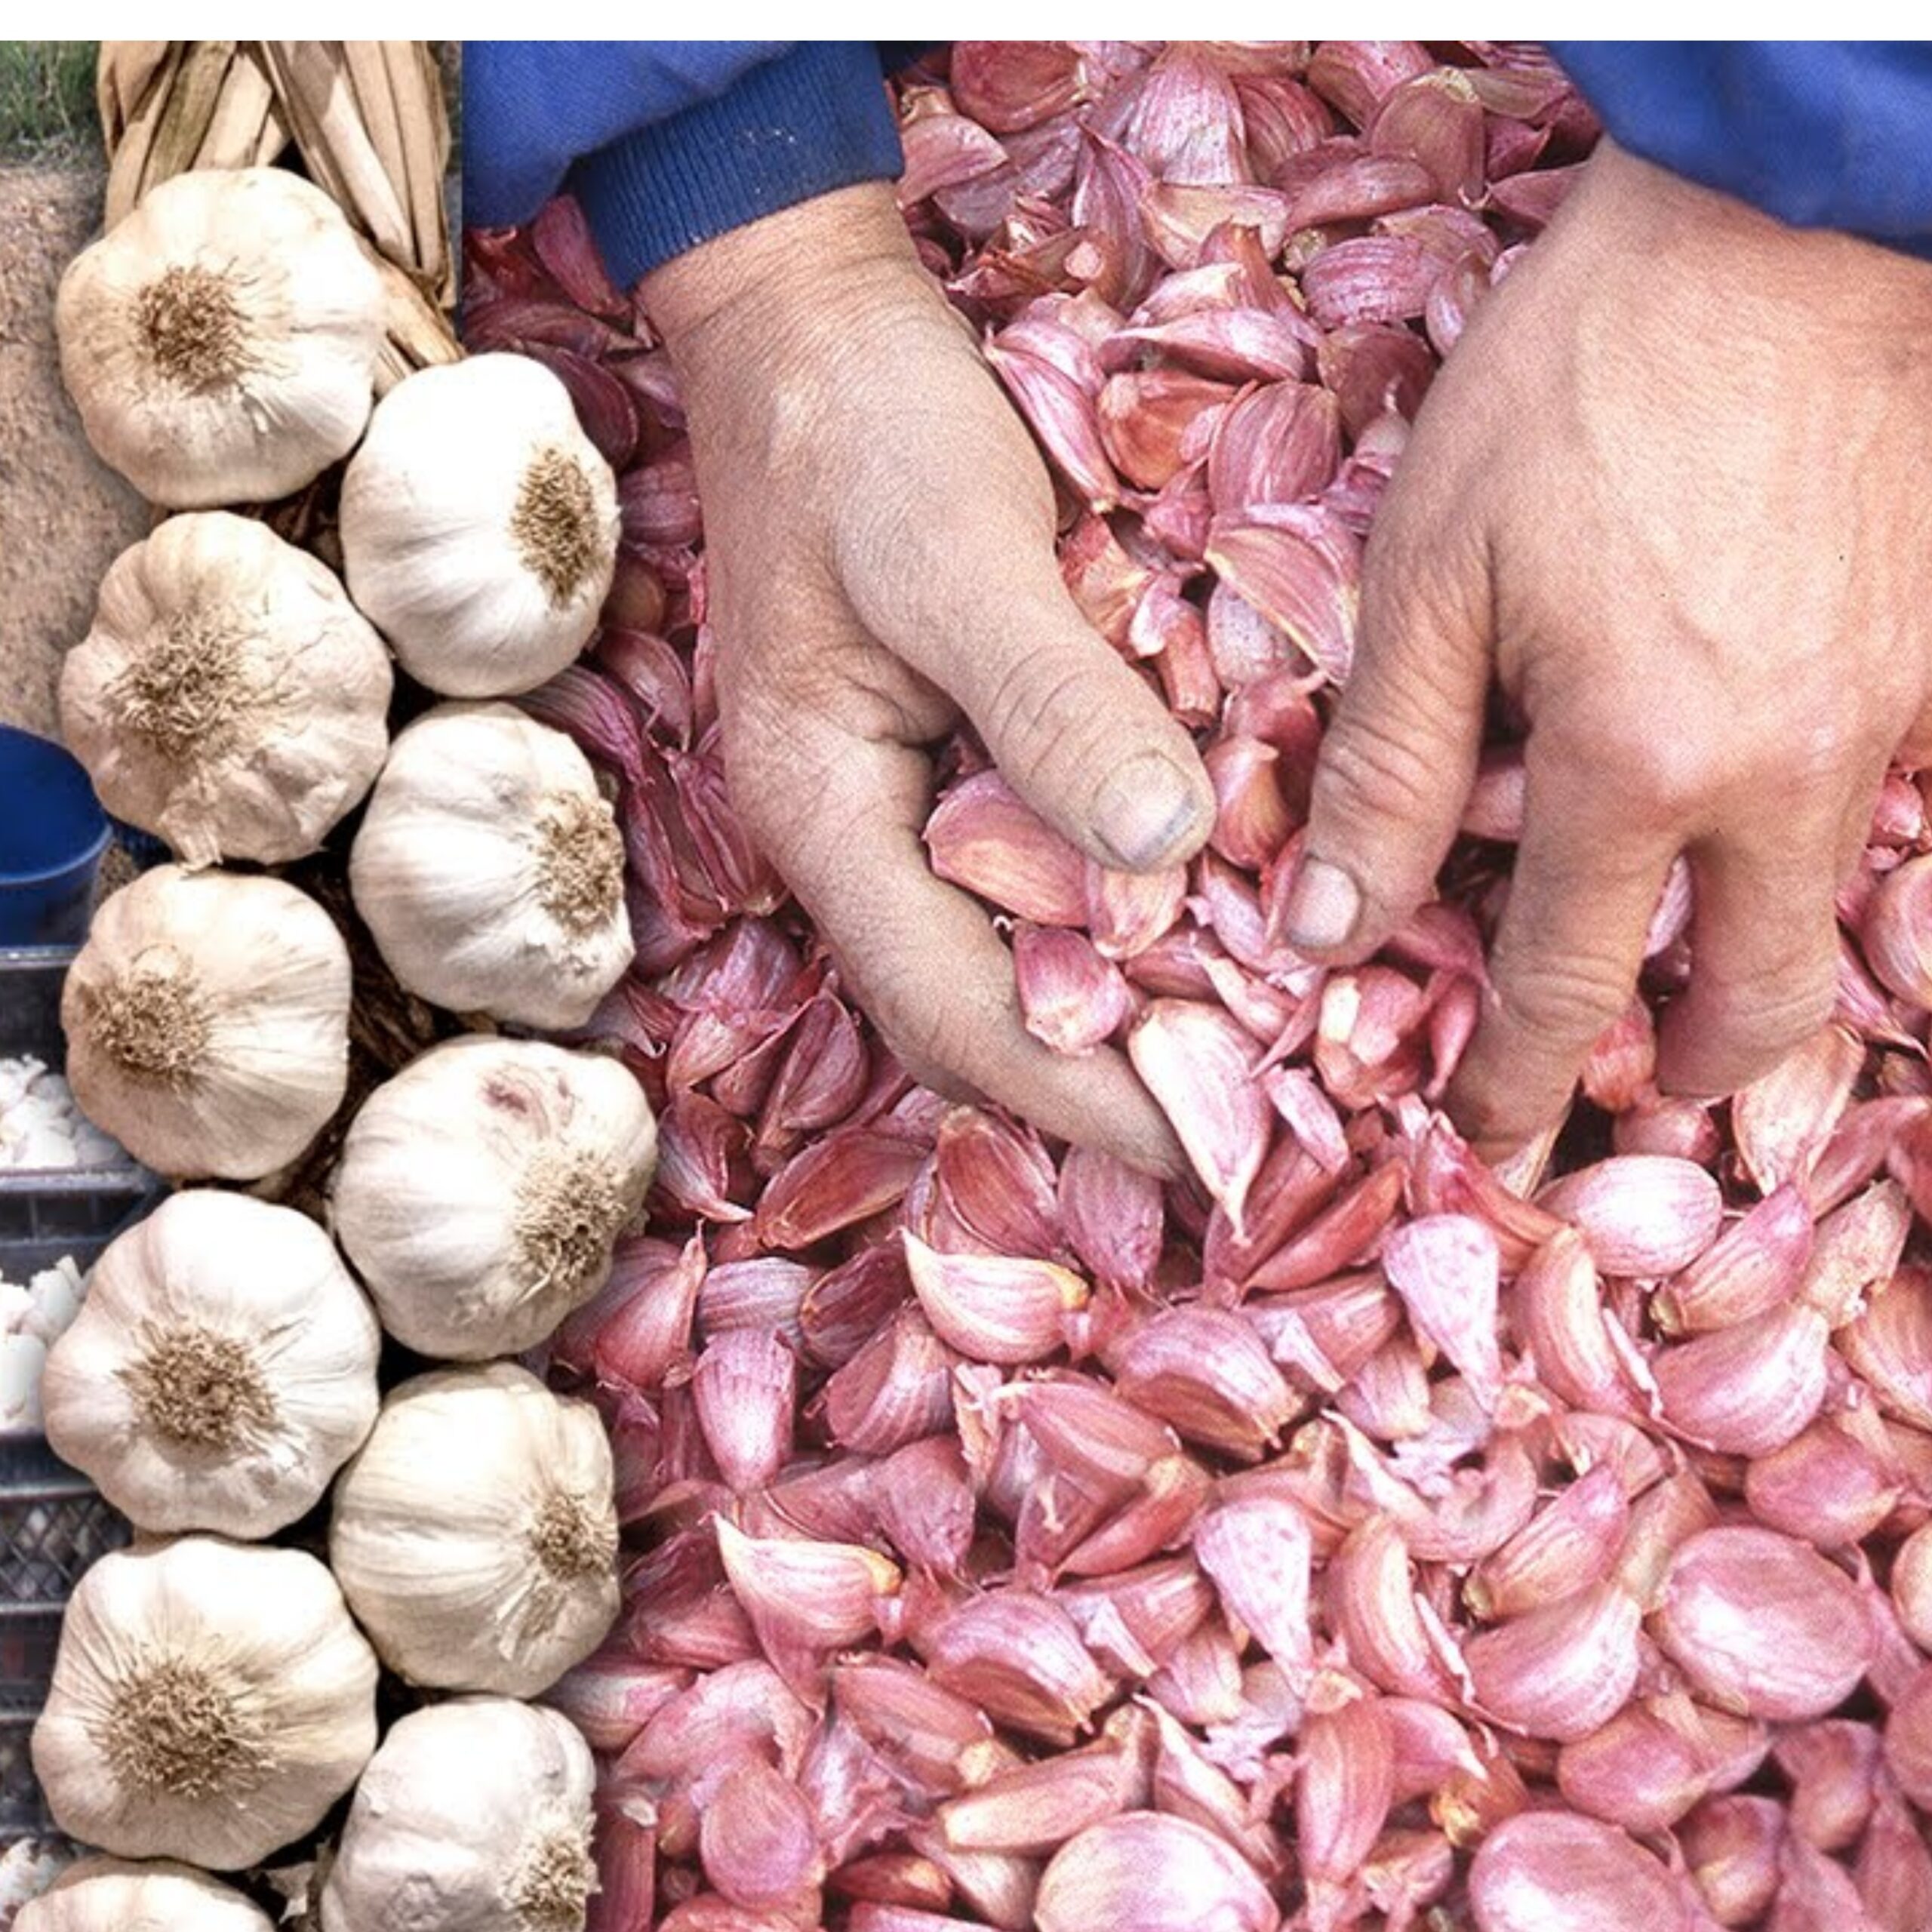
Growing garlic is a fulfilling gardening activity, rewarding you with fresh bulbs that can enhance the flavor of numerous dishes. Here’s a comprehensive guide on how to plant, cultivate, harvest, and traditionally braid garlic.
Planting Garlic
-
Choosing Garlic: Start with healthy, organic garlic bulbs from a reputable nursery or garden center. Avoid supermarket garlic as it may be treated to prevent sprouting.
-
Timing: Plant garlic in the fall, about six weeks before the ground freezes. This timing allows the garlic to establish roots before the winter. In warmer climates, planting can be done in the early spring.
-
Soil Preparation: Garlic thrives in a well-drained, fertile soil. Prepare your planting bed by mixing in plenty of organic matter such as compost. Ensure the soil is loose and airy to facilitate root growth.
-
Planting: Break the garlic bulb into individual cloves right before planting. Plant cloves pointed end up, about two inches deep and six inches apart. Cover with soil and a layer of mulch to protect from severe weather.
Cultivation
-
Watering: Garlic needs regular watering during the growing season, especially during dry spells. However, it’s important to reduce watering as the bulbs mature and the leaves begin to yellow, to prevent rotting.
-
Weeding: Keep the garlic bed free of weeds, which can compete for nutrients and water. Be careful not to disturb the garlic roots when weeding.
-
Fertilizing: Apply a balanced fertilizer or an organic compost in the early spring and possibly again mid-season after the bulbs have started to form.
Harvesting
-
When to Harvest: Garlic is usually ready to harvest in the summer when several of the lower leaves have turned brown. The top leaves will still be green.
-
How to Harvest: Carefully dig around each garlic plant with a spade or fork, being careful not to bruise the bulbs. Gently pull the plants out of the ground.
Winnowing
-
Cleaning: Brush off any dirt from the bulbs gently. Do not wash the bulbs if you plan to store them, as moisture can encourage rot.
-
Curing: Hang the garlic in bunches or spread it out in a single layer in a dry, well-ventilated area. The curing process, which takes about two to three weeks, is crucial for long-term storage.
Traditional Braiding
-
Preparing: Only braid garlic that has been properly cured. Trim the roots close to the bulb and remove any dirty outer layers that are loose.
-
Braiding: Start with three garlic bulbs, and gradually add more as you braid the stems together. Integrate one bulb at a time, alternating sides and pulling gently to keep the braid tight.
-
Finishing: When you have added all your bulbs, finish the braid by plaiting the remaining stem and tying it off at the end.
-
Storing: Hang the braided garlic in a cool, dry place. A well-ventilated kitchen or pantry works well.
This traditional approach not only provides you with a year-round supply of garlic but also gives you a beautiful, rustic decoration for your kitchen. Enjoy the process and the flavorful rewards of your garlic gardening!


