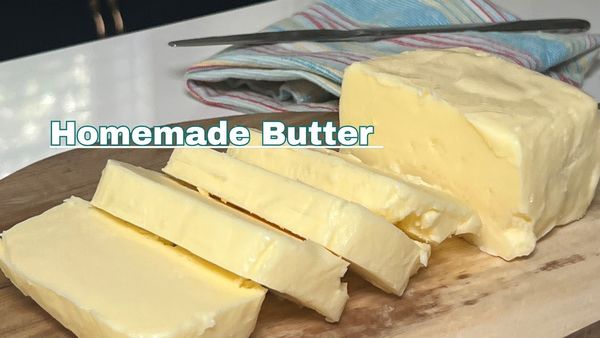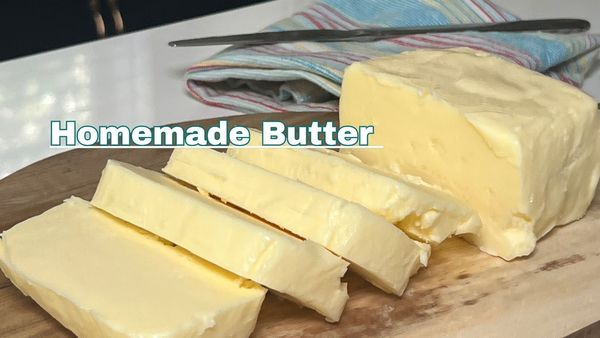
Have you ever thought about making your own butter at home? Not only is it a fun and satisfying project, but it also allows you to enjoy a fresh, rich flavor that store-bought butter simply can’t match. In just a few simple steps, you can create delicious homemade butter using just cream and a few kitchen tools. Let’s get started!
Ingredients
- Heavy cream (preferably high-fat content for best results)
- Salt (optional, to taste)
Equipment
- A food processor, blender, or electric mixer
- A bowl for washing the butter
- Ice water
- A spatula
- A container for storing butter
Instructions
Prepare the Cream
- Begin by pouring cold heavy cream into your food processor, blender, or bowl if you’re using an electric mixer. It’s important to make sure the cream is very cold for the best results. You can use anywhere from one cup to a quart of cream, depending on how much butter you’d like to make.
Start Churning
- Once you have your cream ready, start processing or beating it on a medium to high setting. At first, it will turn into whipped cream with soft, then stiff peaks. But don’t stop there! Keep going past this stage. After several minutes, you’ll notice the cream breaking down further as the fat starts to separate from the liquid.
Watch for Separation
- Keep mixing until you see the butter clumping together and separating from the buttermilk, which is a thin, watery liquid. This usually takes about 3 to 5 minutes of churning after reaching the whipped cream stage.
Drain the Buttermilk
- Once the butter has formed, it’s time to pour off the buttermilk. You can save it for baking recipes like pancakes or scones if you’d like.
Wash the Butter
- To ensure your butter is of the highest quality, it’s important to wash it. Transfer the butter clumps into a bowl and pour ice water over them. Use a spatula or wooden spoon to gently press the butter, squeezing out any remaining buttermilk. Drain the water and repeat this process until the water runs clear. Washing the butter helps remove any lingering buttermilk, which can spoil the butter if left in.
Salt (Optional)
- If you prefer salted butter, now is the time to add some. Start with a pinch, mix well, and taste. Adjust the salt accordingly to your preference.
Shape and Store
- Once you’ve washed and salted your butter (if desired), you can shape it into a ball, a block, or even use molds to create decorative shapes. Wrap it in parchment paper or place it in an airtight container. Store your homemade butter in the refrigerator or freezer.
Enjoy Your Homemade Butter!
Now that you’ve made your very own butter, it’s time to indulge in its fresh and creamy goodness. Homemade butter has a delightful taste that enhances any dish, from spreading on warm bread to cooking and baking. By making butter at home, you have complete control over the quality of ingredients and the salt content, resulting in a superior product.
This quick and straightforward method takes just minutes to make and may even convince you to ditch store-bought butter altogether. So why not give it a try? Get creative in the kitchen and enjoy the satisfaction of homemade butter that’s truly made with love.
