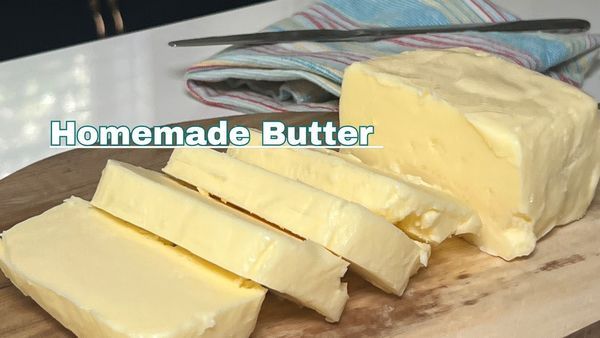
Have you ever considered making your own butter at home? Not only is it a fantastic way to save some money, but it also promises a fresh and rich flavor that you simply can’t find in store-bought butter. The best part? It’s incredibly easy and enjoyable! With just a few basic ingredients and kitchen tools, you’ll embark on a delightful journey to create your very own butter in no time.
What You’ll Need
- Heavy cream (opt for high-fat content for the best results)
- Salt (optional, for a personalized touch)
Required Equipment
- A food processor, blender, or electric mixer
- A bowl for rinsing the butter
- Ice water
- A spatula
- A container for butter storage
Let’s Get Started!
1. Preparing the Cream
Begin by pouring cold heavy cream into your food processor, blender, or mixing bowl. Using very cold cream is crucial for optimal results. You can choose to use anywhere from one cup to a quart of cream, depending on the amount of butter you wish to make.
2. Start Churning
Commence processing or beating the cream at a medium to high speed. Initially, it will transform into whipped cream with soft, then stiff peaks. Keep going beyond this stage. After a few minutes, the cream will further break down, and you’ll notice the fat separating from the liquid.
3. Keep a Close Eye
Continue mixing until you observe the butter clumping together and separating from the buttermilk (a thin, watery liquid). Typically, this stage is reached after approximately 3 to 5 minutes of churning following the whipped cream phase.
4. Draining the Buttermilk
Once the butter has taken shape, pour off the buttermilk. Feel free to set it aside for baking recipes like pancakes or scones.
5. Washing the Butter
Transfer the butter clumps to a bowl and pour ice water over them. Gently press the butter with a spatula or wooden spoon to extract more buttermilk. Drain the water and repeat this process until the water runs clear. Washing the butter effectively eliminates any residual buttermilk, preventing spoilage.
6. Adding Salt (Optional)
For salted butter lovers, this is the ideal time to add some salt. Begin with a pinch, blend thoroughly, and taste. Adjust salt quantity according to your preference.
7. Shaping and Storing
Once your butter is rinsed, mold it into a ball, block, or use molds for decorative shapes. Wrap it in parchment paper or place it in an airtight container. Store your homemade butter in the refrigerator or freezer.
Enjoy the Fruits of Your Labor!
Homemade butter boasts a fresher, creamier taste compared to most commercial varieties. It’s perfect for spreading on bread, cooking, and baking. Crafting butter at home grants you control over the ingredients and salt levels, resulting in a superior product that elevates any dish.
This quick and simple method ensures you’ll have delicious homemade butter in just a few minutes. The satisfaction and flavor may just persuade you to bid farewell to store-bought butter for good! Don’t hesitate, give it a shot, and relish the joy of creating your own butter from scratch.