Making your own “Feta-style” cheese at home is one of the most rewarding kitchen hacks for both your health and your wallet. By using lemon juice as a natural coagulant, you bypass the need for animal rennet or complex chemical additives found in commercial brands. This method allows you to produce a fresh, tangy cheese that is 4.5 times cheaper than store-bought varieties. Because you are controlling the ingredients, you get a pure, preservative-free source of calcium and high-quality protein for a fraction of the cost, making it a “treasure” for budget-conscious families.
Why Lemon Juice and Milk Create the Perfect Tang
The acidity of the lemon juice reacts instantly with the milk proteins, causing them to clump together into beautiful, white curds. Unlike vinegar, which can sometimes leave a sharp aftertaste, lemon juice provides a bright, citrusy note that perfectly mimics the natural tanginess of traditional sheep’s milk Feta. When these curds are pressed and salted, they develop that classic crumbly texture we love in salads and pastries. This “5-minute” active prep time is all it takes to turn a basic carton of milk into a gourmet Mediterranean staple.
Recipe: The “5-Minute” Budget-Friendly Feta
This recipe yields a fresh, crumbly cheese that is ready to eat almost immediately, though it improves with a quick chill.
Ingredients:
2 Liters (approx. 8 cups) of Full-Fat Whole Milk.
1/2 cup of Freshly Squeezed Lemon Juice (about 2-3 large lemons).
1 to 2 Teaspoons of Sea Salt (to taste).
Optional: 1/2 teaspoon of dried oregano or red pepper flakes for “herbed Feta.”
Instructions:
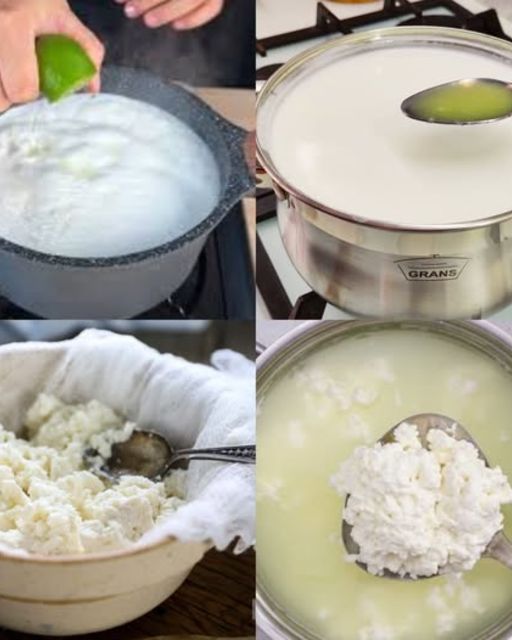
The Heat: Pour the milk into a large pot. Heat it over medium-high heat, stirring constantly so it doesn’t burn on the bottom. Bring it just to the verge of a boil (about 85-90°C).
The Curdle: Turn off the heat. Pour in the lemon juice and stir gently for 30 seconds. You will see the milk separate into white curds and a clear, yellowish liquid (whey) almost instantly.
The Rest: Let the pot sit undisturbed for 5 minutes. This allows the curds to become firm and fully separate.
The Strain: Line a colander with a clean cheesecloth or a thin kitchen towel. Pour the contents of the pot through. Let the whey drain for a few minutes.
The Press & Salt: While the cheese is still warm in the cloth, sprinkle the salt (and herbs) over it and mix gently. Wrap the cloth tightly and place a heavy plate or a jar of water on top to “press” the cheese for 15-30 minutes. This gives it the firm, sliceable Feta texture.
Store: Remove from the cloth and cut into cubes.
Three Ways to Use Your Homemade Feta
The Greek Salad Reset: Toss your fresh cubes with cucumbers, tomatoes, and olives. Since your cheese hasn’t been sitting in store-bought brine for months, the flavor will be much creamier and more delicate.
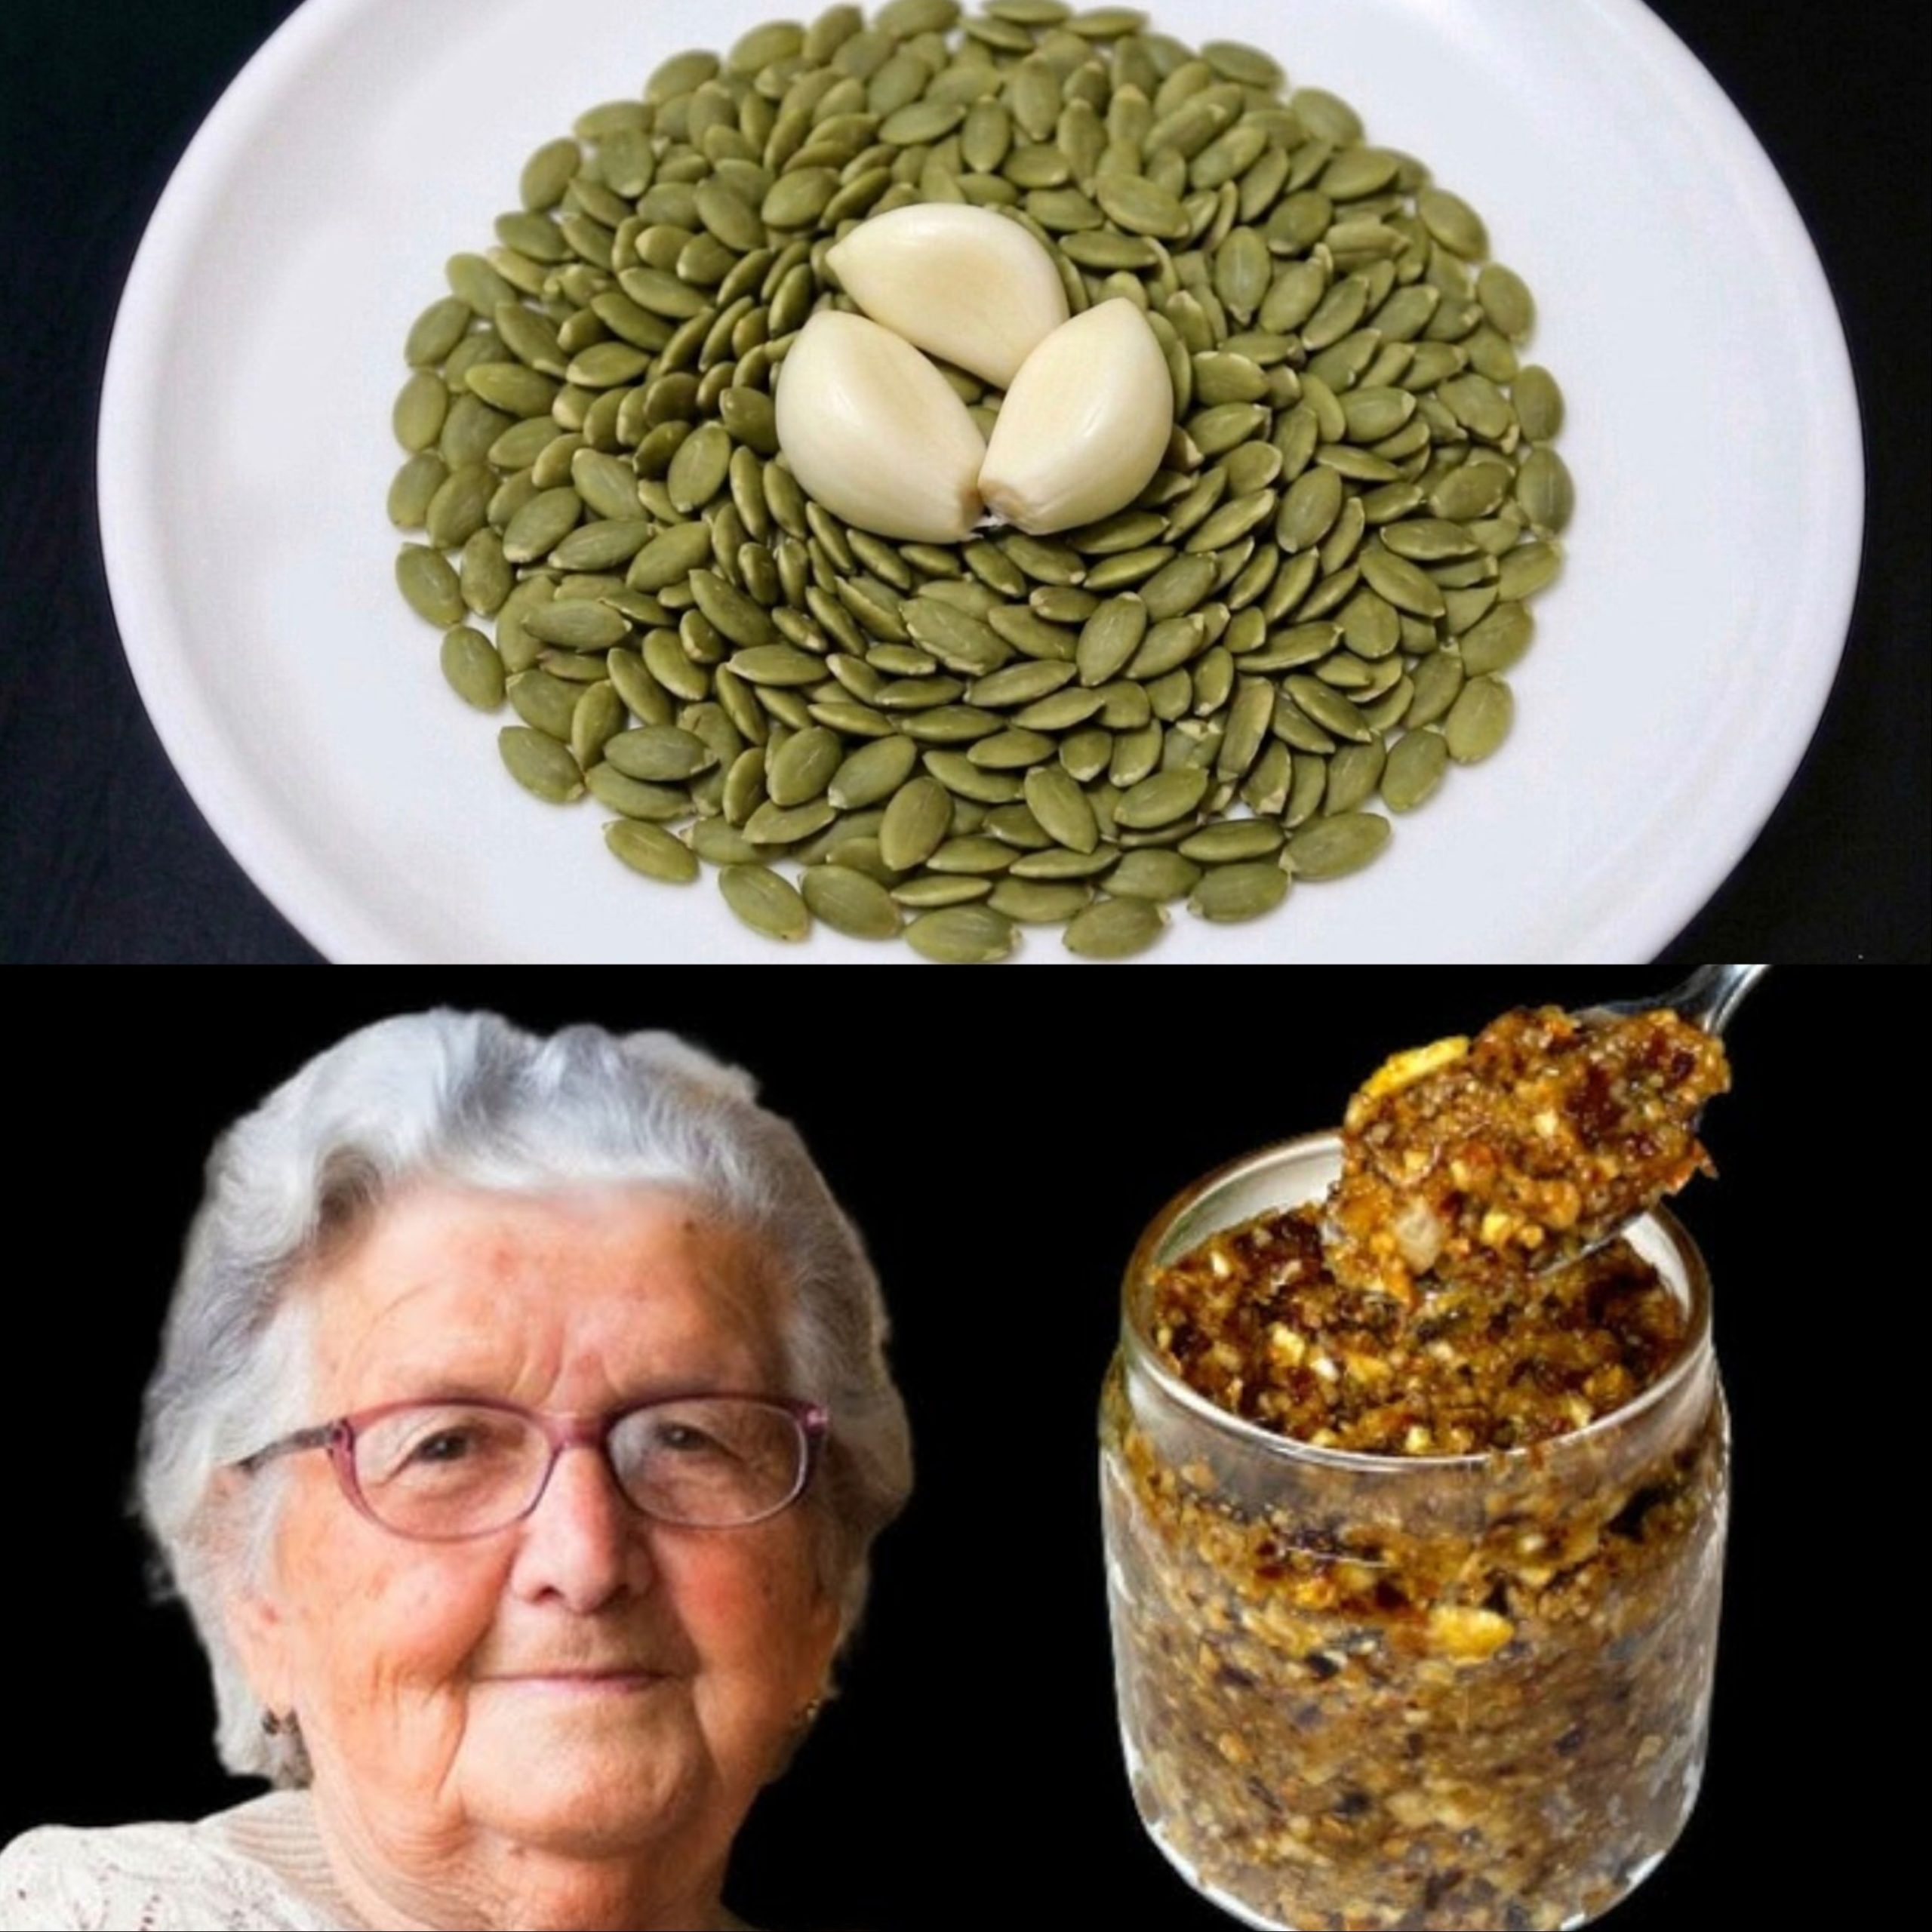
The “Feta Whip”: Place your fresh cheese in a blender with a splash of olive oil and a clove of garlic. It creates a high-protein, creamy dip that is perfect for toasted bread or veggie sticks.
The Pastry Filler: Use this cheese to fill homemade spinach pies (Spanakopita) or omelets. Because it is so fresh, it melts and browns beautifully compared to processed blocks.
A Gentle Tip for Success
To get that truly “authentic” Feta taste, place your finished cheese cubes into a jar filled with a simple brine (1 cup of water mixed with 1 tablespoon of salt). Letting the cheese sit in the fridge in this brine for 24 hours will give it that sharp, salty “bite” that characterizes high-end Greek Feta. Plus, the leftover whey from the pot is a nutritional “gold mine”—use it instead of water when baking bread or making pancakes for extra fluffiness and protein!