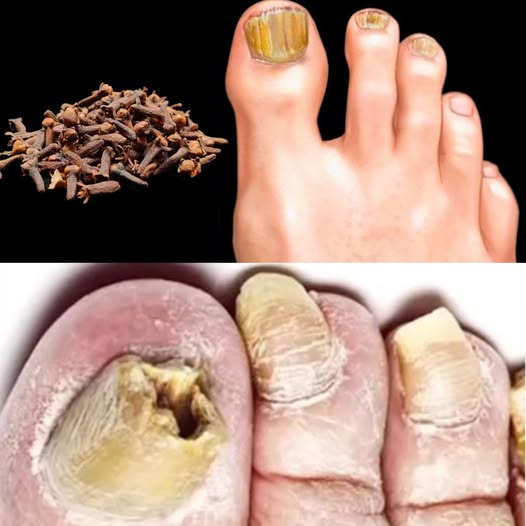
Using cloves to treat nail fungus is a “brilliant” and “potent” natural solution that works like a “biological shield.” This ritual is a “treasure” because cloves contain eugenol, a massive antifungal compound that “shocks” the fungus and “shatters” its ability to grow. It is a “smart” and 100% natural way to “clear” yellowing, “erase” brittle edges, and “restore” the healthy pink glow of your nails without “industrial” chemical creams.
This practice is “incredibly good” because it targets the “root” of the infection deep under the nail bed. It works by “suffocating” the fungal spores and “disinfecting” the skin. Once you apply this “spicy” treasure, you will be “amazed” at how “quickly” the new, healthy nail begins to grow in, leaving the “stubborn” fungus behind.
Why Cloves are a “Nail-Saving” Treasure
- The Eugenol “Hammer”: This active ingredient “attacks” the fungal cell walls, “erasing” the infection on contact.
- The “Circulation” Spark: Cloves “ignite” blood flow to the fingertips and toes, “speeding up” the growth of new, clear nails.
- Natural “Antiseptic”: The oils “scour” the area under the nail, “preventing” the fungus from spreading to other toes or fingers.
- The “Odor” Neutralizer: It “shocks” the bacteria that cause foot odor, keeping your feet “fresh” and “clean.”
- Pain “Soother”: If the fungus has caused soreness, the “numbing” properties of cloves “calm” the discomfort instantly.
Recipe for the “Ultimate Fungus Eraser” Oil
This is the smartest way to concentrate the “healing” power of cloves into a liquid that can “penetrate” deep into the nail.
Ingredients:
- 2 tablespoons of Whole Cloves (The “aromatic” treasure)
- 1/2 cup of Olive Oil or Coconut Oil (To “carry” the medicine deep)
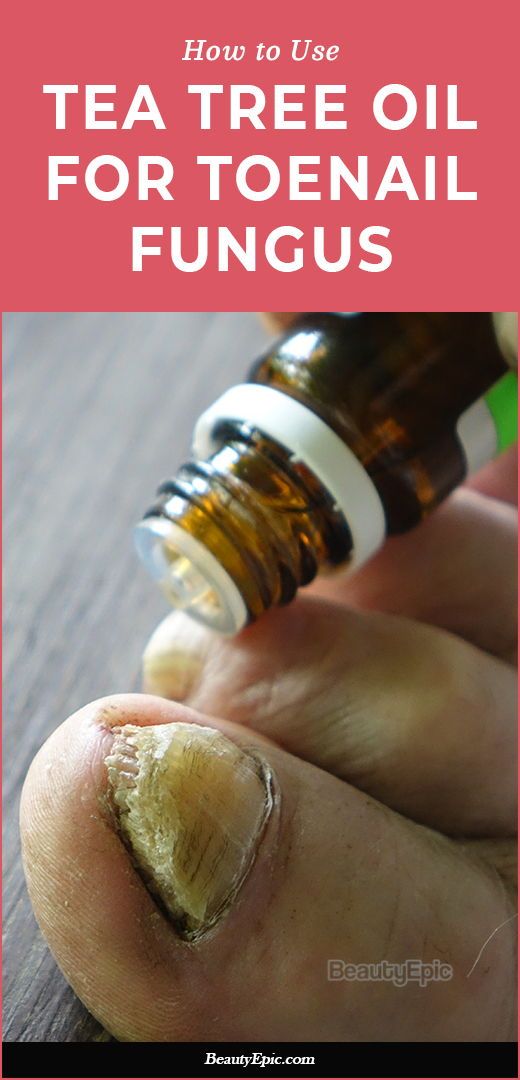
- 5 drops of Tea Tree Oil (Optional “booster” treasure for 100% effectiveness)
- A small glass jar
Instructions:
- The Grind: Crush the whole cloves “roughly” using a mortar and pestle. This “releases” the essential eugenol.
- The Infusion: Place the crushed cloves and olive oil into a small pot. Heat it on “very low” for 15 minutes. Do not let it boil!
- The Rest: Pour the mixture into a glass jar and let it “steep” for 24 hours. This is the “best” secret to make the oil “extra strong.”
- The Prep: Before applying, “soak” your feet in warm water and “file down” the surface of the thick nail. This “opens” the path for the oil.
- The Application: Use a cotton swab to apply the oil “generously” over and under the tip of the nail.
- The Routine: Apply this “eraser” twice a day—once in the morning and once before bed.
- The Result: A “visible” change in the color and texture of the nail as the “fungus retreats.”
Three Tips for Success with Clove Oil
- The “Dry” Rule: After your foot soak, make sure the nail is 100% dry before applying the oil. Fungus “loves” moisture, so “erasing” the dampness is the “smartest” way to win the battle.
- The “Clean Tool” Secret: Always “sanitize” your nail clippers and files with alcohol after every use. This “shields” your healthy nails from “cross-contamination.”
- The “Cotton Sock” Command: Wear “clean cotton socks” after applying the oil at night. This “honors” your skin by letting it “breathe” while the clove oil “works its magic” in the fabric.
A Friendly Tip for Success
You’ll know the “Clove Eraser Secret” is working when you realize the “new growth at the base” of your nail is perfectly clear and smooth! It is the “smartest” way to “honor” your feet using a simple treasure from your kitchen cabinet.