Creating a homemade water pump can be a rewarding project that demonstrates basic principles of hydraulics and engineering. This DIY tutorial will guide you through building a simple but powerful water pump using readily available materials. This type of pump can be useful for small garden projects, circulating water for a pond, or any situation where you need to move water from one place to another.
Materials Needed:
-
Plastic bottle (2-liter soda bottle works well)
-
Two check valves (one for inlet, one for outlet)
-
Silicone tubing (suitable for the size of the check valves)
-
Epoxy or waterproof sealant
-
Scissors or a sharp knife
-
Zip ties
-
A small electric motor (can be sourced from old appliances or bought online)
-
Battery or power supply for the motor
-
Small fan blade or impeller (can be taken from old electronics or crafted from plastic)
Instructions:
-
Prepare the Bottle:
-
Cut the bottom off the plastic bottle to create a cylinder. This bottle will serve as the housing for the pump mechanism.
-
-
Install Inlet and Outlet:
-
Drill two holes in the cap of the bottle: one for the inlet and one for the outlet. Ensure these are slightly smaller than the diameter of your tubing for a tight fit.
-
Attach a check valve to each piece of tubing — one for pulling water in (inlet) and one for pushing it out (outlet).
-
Thread the tubes through the holes in the cap, attaching the inlet on the lower side of the cap and the outlet on the top.
-
Secure the tubing with epoxy or waterproof sealant around the edges to prevent leaks.
-
-
Assemble the Motor and Impeller:
-
Attach the small fan blade or impeller to the shaft of the motor. Ensure it’s securely fastened and centered to prevent wobbling.
-
Position the motor so that the impeller is inside the bottle and aligns with the bottle cap when closed.
-
-
Mount the Motor:
-
Use zip ties or additional epoxy to secure the motor to the bottle, ensuring it doesn’t shift or fall off when operating.
-
-
Close the System:
-
Screw the cap with the tubes and check valves back onto the bottle.
-
Make sure everything is tight and secure. Test the seal with some water to ensure there are no leaks.
-
-
Connect to Power:
-
Attach the motor to a suitable battery or power supply. Ensure the voltage and current are appropriate for the motor to avoid overheating.
-
-
Test Your Pump:
-
Place the inlet hose in a container of water and the outlet hose where you want to move the water.
-
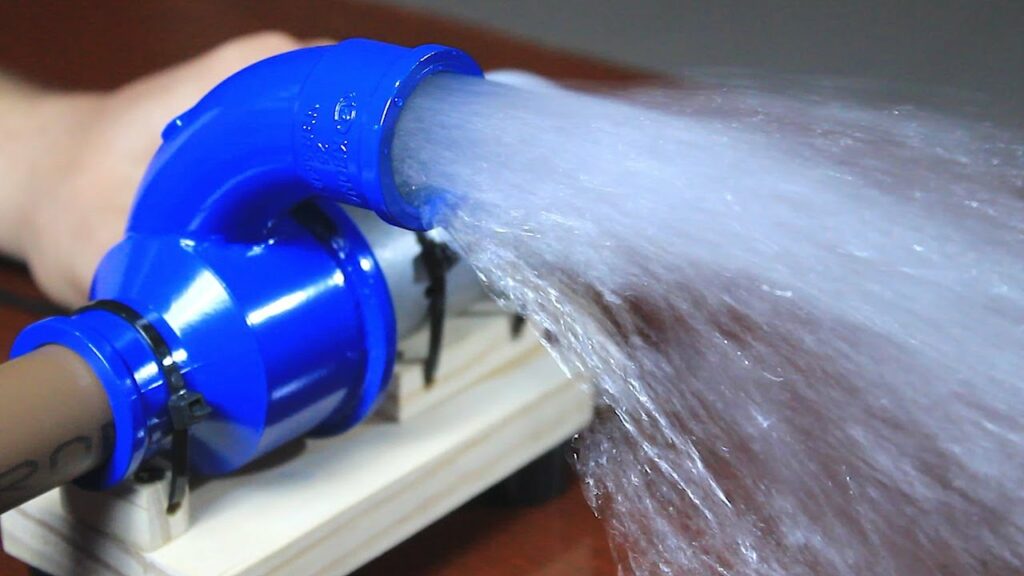
Turn on the power to start the pump and observe the flow. Adjust placements and settings as needed.
-
Considerations and Tips:
-
Motor Safety: Ensure the motor is rated for continuous use if you plan to run the pump for extended periods.
-
Waterproofing: Check all connections and seals for waterproof integrity to avoid damage and ensure long-term operation.
-
Power Source: If using a battery, consider rechargeable options for efficiency and sustainability.
-
Improvements: Experiment with different impeller designs or additional check valves to optimize flow rate and pressure.
This homemade water pump is an excellent project for learning about fluid dynamics and mechanical engineering, and it can be a practical tool for managing water flow in home applications.