Homemade apple cider vinegar is a simple, sustainable, and cost-effective way to make use of leftover apple peels. With just a few ingredients, you can create a delicious, all-natural apple vinegar that’s great for cooking, cleaning, or even health purposes. Here’s how to make it at home!
Why Make Apple Vinegar from Peels?
- Reduces Waste: Using apple peels for vinegar is a great way to make use of scraps that would otherwise be thrown away.
- 100% Natural: Making your own vinegar means you control the ingredients, avoiding any unnecessary additives or preservatives.
- Rich in Probiotics: Homemade apple vinegar can develop natural probiotics during fermentation, which are great for gut health.
Ingredients
- Peels and cores from 3-4 apples (organic, if possible)
- 2-3 tablespoons sugar or honey
- Enough water to cover the apple peels
- A clean jar
- A cheesecloth or coffee filter
- Rubber band or string
Instructions
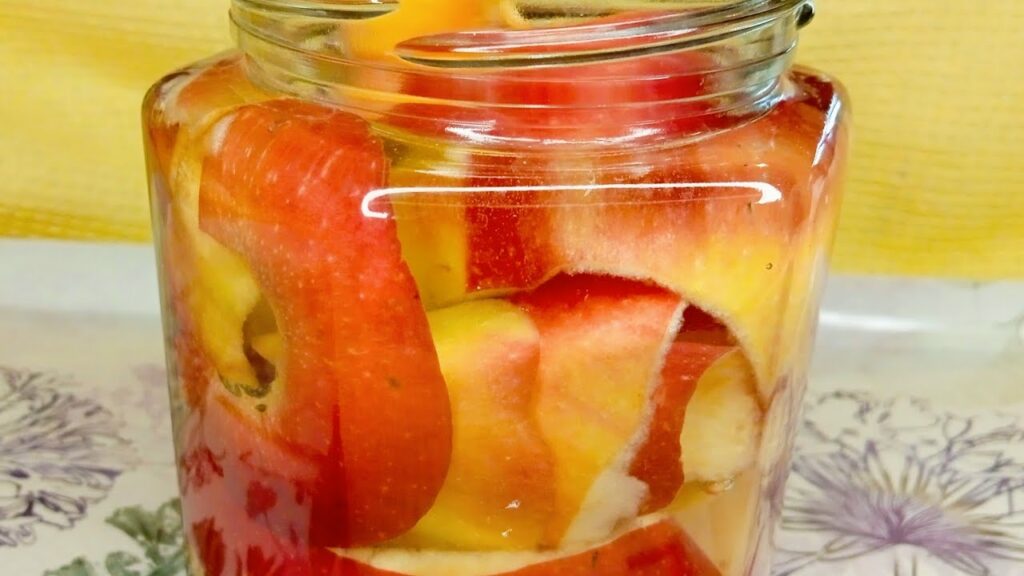
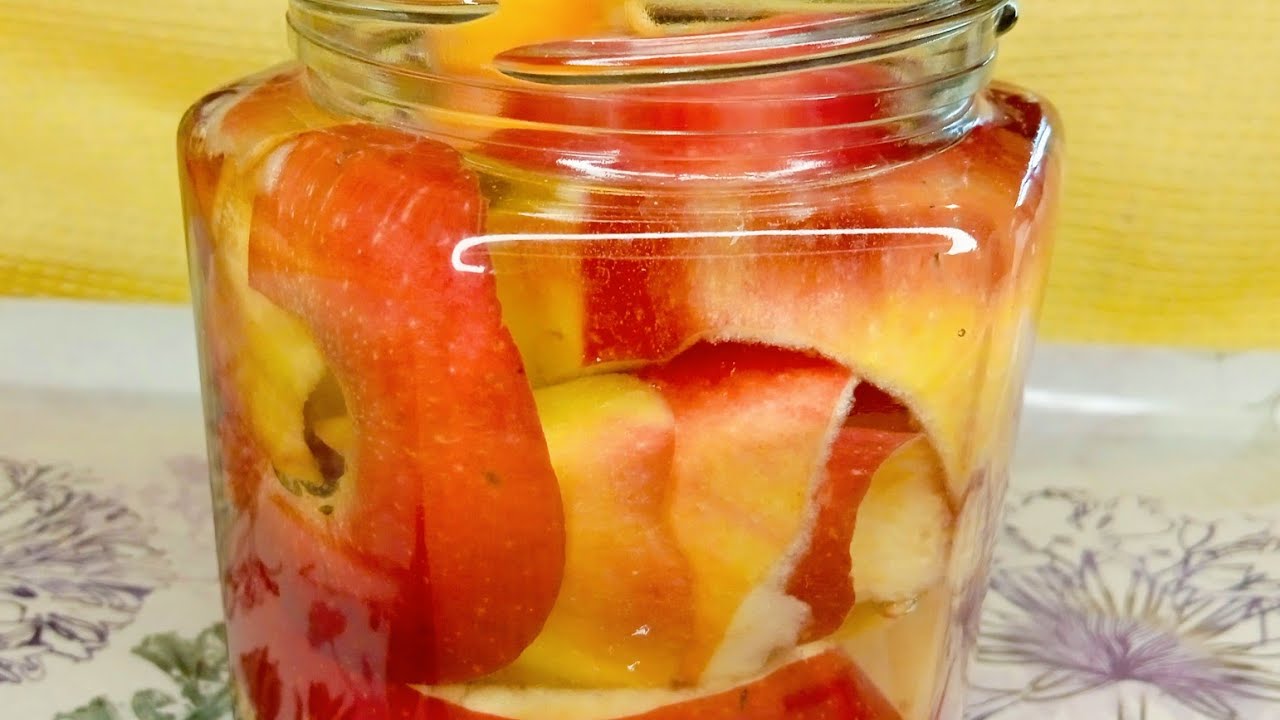
- Prepare the Peels and Cores: Place the apple peels and cores in a clean glass jar. Make sure the jar is large enough to allow some room at the top.
- Dissolve the Sugar: In a separate container, dissolve 2-3 tablespoons of sugar or honey in a cup of water. This sugar will act as food for the natural bacteria that will ferment your vinegar.
- Add Water and Sugar Solution: Pour the sugar water over the apple peels in the jar. Add more water as needed to completely cover the peels. Make sure there’s at least an inch of space at the top of the jar.
- Cover with a Cheesecloth: Cover the jar with a cheesecloth or coffee filter, and secure it with a rubber band or string. This allows air to flow in while keeping dust and bugs out.
- Let It Ferment: Place the jar in a warm, dark place, like a cupboard. Stir the mixture once daily to prevent mold. After about 1-2 weeks, you’ll notice bubbles forming—this is a sign of fermentation.
- Strain the Liquid: After 2-3 weeks, strain out the apple peels and cores, leaving only the liquid in the jar.
- Continue Fermenting: Return the liquid to the jar and let it ferment for another 3-4 weeks, stirring occasionally. Taste the vinegar every few days until it reaches your preferred acidity.
- Transfer and Store: Once it tastes like vinegar, pour it into a clean bottle with a lid. Store it in a cool, dark place, and it’s ready to use!
Uses for Homemade Apple Vinegar
- In the Kitchen: Use it as a salad dressing base, in marinades, or for pickling.
- Natural Cleaner: Mix with water for an all-natural household cleaner.
- Health Tonic: Add a teaspoon to a glass of water with a bit of honey for a refreshing drink.
Tips for Success
- Avoid Metal: Use a glass or plastic container and wooden spoon to avoid reactions with metal.
- Be Patient: The process takes time, but the flavor will develop beautifully.
- Prevent Mold: Make sure all peels are submerged in water to prevent mold from forming.
With just apple peels and a few simple steps, you’ll have your own homemade apple vinegar that’s delicious, versatile, and eco-friendly. Give it a try and enjoy the natural, homemade goodness!


