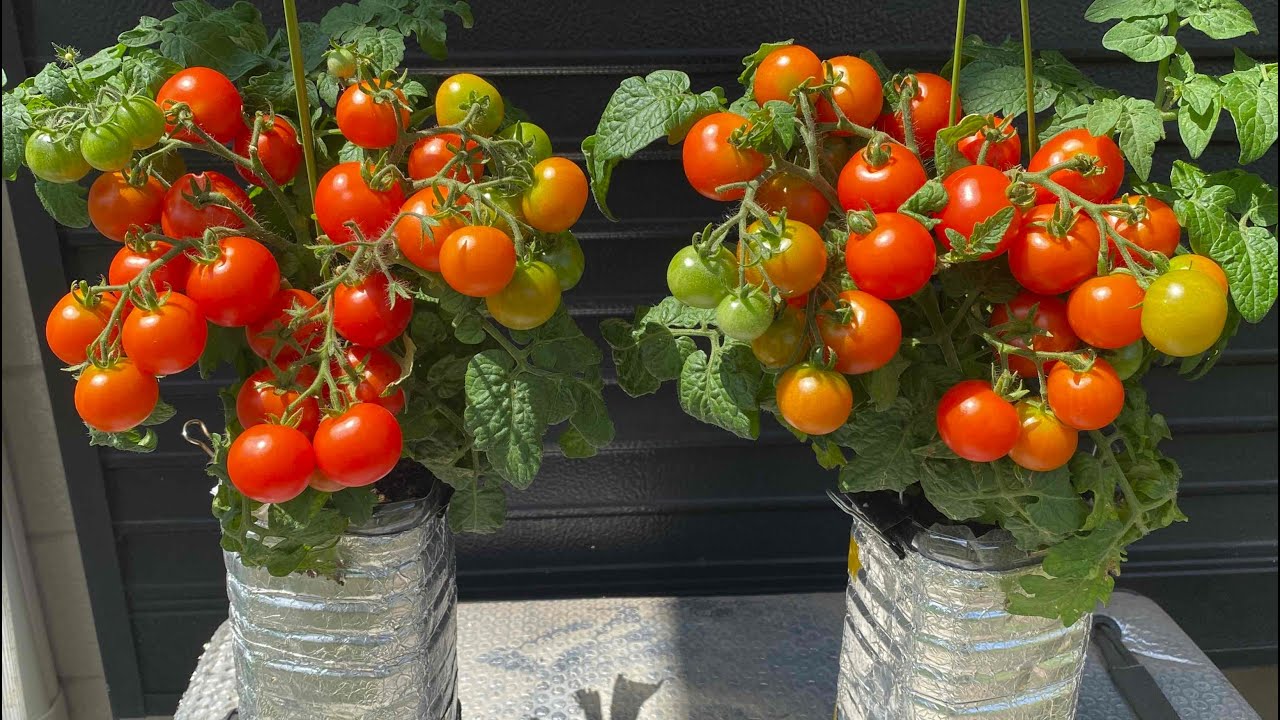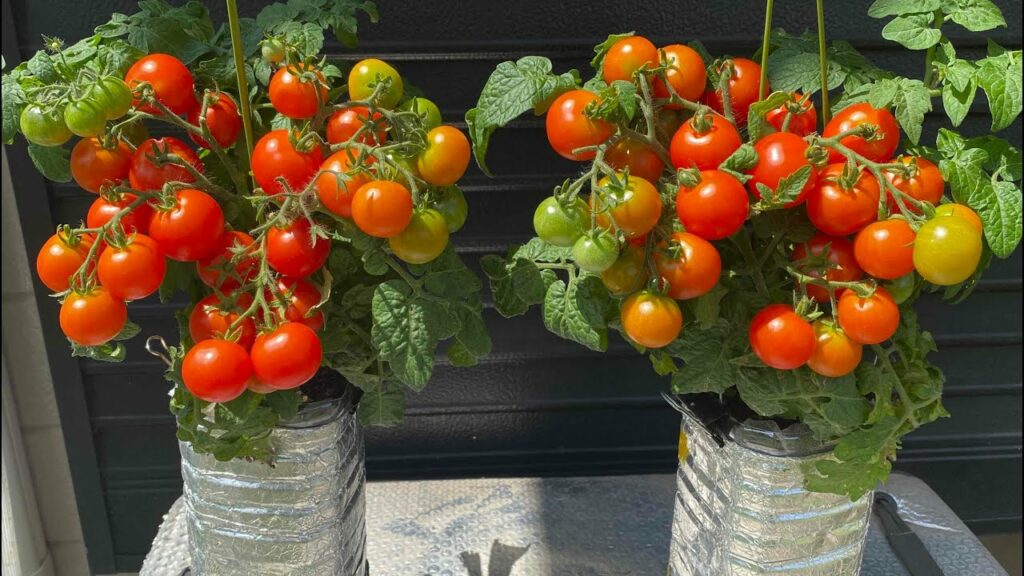
Growing cherry tomatoes in plastic bottles is a fantastic way to recycle and garden, especially if you have limited space. This method is ideal for balconies, patios, or even indoor spaces with sufficient light. Here’s how you can grow cherry tomatoes using plastic bottles:
Materials Needed
-
2-liter plastic bottles (clean and empty)
-
A sharp knife or scissors
-
Potting mix, preferably designed for vegetables
-
Cherry tomato seedlings or seeds
-
A drill or a nail for making drainage holes
-
String or wire for hanging (if desired)
-
Water-soluble tomato fertilizer
Step 1: Prepare the Bottles
-
Cut the Bottle: Use a sharp knife or scissors to cut the bottom off one or more 2-liter plastic bottles. If you prefer, you can also cut large holes in the side of the bottle, which allows the plant to grow out sideways.
-
Make Drainage Holes: Use a drill or a heated nail to create several small drainage holes in the cap of the bottle, which will now serve as the bottom when you flip it.
Step 2: Add Soil and Plant
-
Add Soil: Fill the bottle with a high-quality potting mix. Leave about an inch of space at the top (now the bottom) of the bottle for easier watering.
-
Plant the Tomato: If using seedlings, gently insert the root ball into the bottle neck first, ensuring the leaves are outside. If using seeds, plant them according to packet instructions, usually ¼ inch deep.
Step 3: Hang or Mount the Bottle
-
Hanging Setup: Punch two holes near the cut edge of the bottle and thread a string or wire through for hanging. Ensure it’s secure, as the bottle will get heavy with soil and water.
-
Mounting: You can also mount the bottles on a wall or railing using appropriate fixtures. Ensure they get enough sunlight and are stable.
Step 4: Watering and Care
-
Watering: Water the plant through the top of the bottle, which was originally the bottom. Be careful not to overwater; ensure the soil is moist but not soggy.
-
Sunlight: Cherry tomatoes require at least 6-8 hours of direct sunlight daily. Place or hang the bottles in a spot that receives ample sunlight.
-
Fertilizing: Feed the cherry tomatoes with a water-soluble tomato fertilizer every two weeks to promote healthy growth and fruiting.
Step 5: Pruning and Maintenance
-
Pruning: Remove any yellow leaves or branches that seem weak or diseased. This helps the plant focus its energy on producing fruit.
-
Support: As the tomato plants grow, they might need additional support. Use stakes or ties to keep them upright if they start to lean or fall.
Step 6: Harvesting
-
Watch for Ripening: Cherry tomatoes typically start to ripen about 60-75 days after transplanting. Harvest the tomatoes when they are firm and fully colored. Regular harvesting encourages the plant to produce more fruit.
This method of growing cherry tomatoes in plastic bottles is not only space-efficient but also an excellent project for urban gardeners and those new to gardening. It’s a fun, sustainable way to enjoy fresh tomatoes right at home!
