Propagating a snake plant (Sansevieria), also known as “Mother-in-Law’s Tongue,” is a simple and rewarding process, especially when done through leaf cuttings in water. Snake plants are tough and resilient, making them perfect for beginners who want to expand their plant collection. Follow this step-by-step guide to propagate your snake plant through leaf cuttings in water.
What You’ll Need:
- A healthy snake plant
- Sharp, clean scissors or a knife
- A glass or jar
- Water (preferably filtered or distilled water)
- Optional: Rooting hormone (although not necessary, it can speed up the process)
Step-by-Step Guide to Propagating Snake Plant by Leaf Cuttings in Water:
1. Select a Healthy Leaf
Choose a healthy, mature leaf from your snake plant. Look for a leaf that is firm and free from damage, as this will give you the best chance of successful propagation.
2. Cut the Leaf
Using clean, sharp scissors or a knife, cut the leaf at the base near the soil. You can cut the entire leaf or just a section, depending on how many cuttings you want to make. If you’re making multiple cuttings, divide the leaf into 3-4 inch sections.
Tip: Cut each section at an angle or in a “V” shape at the bottom to help distinguish which end goes into the water. The bottom part is where the roots will form.
3. Let the Cuttings Callous Over
Before placing the leaf cuttings in water, allow the cut edges to dry and callous over for 1-2 days. This step helps prevent rot, which can occur if the freshly cut leaves are placed directly in water.
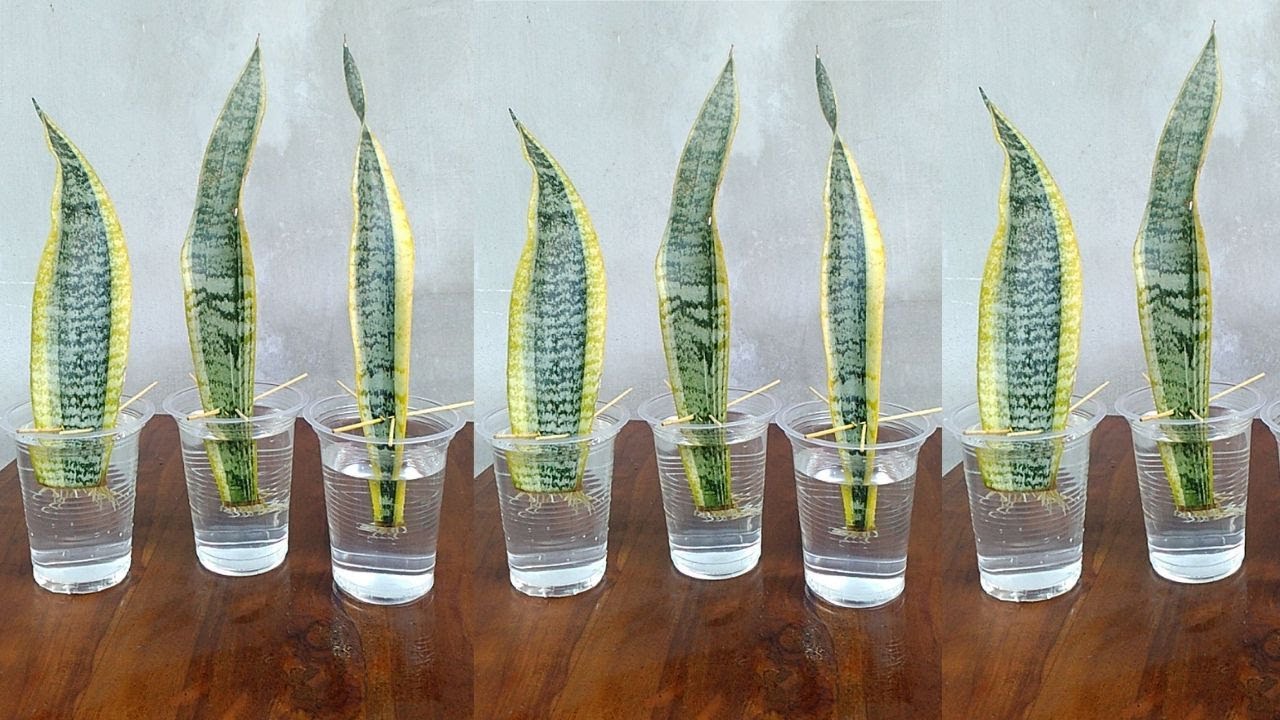
4. Place the Cuttings in Water
Once the cuttings have calloused over, place the bottom end (the “V” cut side) of each cutting into a glass or jar filled with water. The water should cover just the lower part of the cutting, not the entire leaf.
5. Choose a Bright Spot
Place the glass with the cuttings in a location where it will receive bright, indirect sunlight. Avoid direct sunlight, as this can cause the water to heat up too much and damage the cuttings.
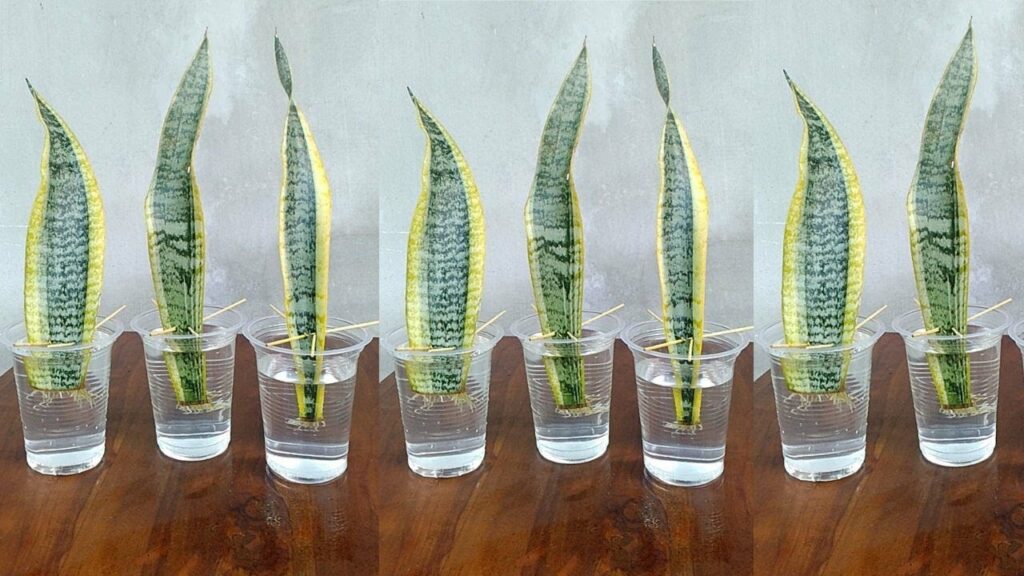
6. Change the Water Regularly
Change the water every week or when it becomes cloudy. Keeping the water clean helps prevent bacteria and mold from forming, which can lead to rot. You should start to see roots developing after about 3-6 weeks.
7. Watch for Root Growth
After a few weeks, small roots will begin to form at the bottom of the leaf cuttings. Once the roots are about 1-2 inches long, the cuttings are ready to be transplanted into soil.
8. Transplant into Soil
Once the roots have developed, gently remove the cuttings from the water and plant them in well-draining potting soil. Make sure the soil is not too compact, and water it lightly. You can continue to care for the plant as you would with any other snake plant, allowing the soil to dry out between waterings.
Tips for Successful Propagation:
- Patience: Propagation can take time, especially with snake plants. It may take a few weeks to see significant root development.
- Water Quality: Using filtered or distilled water helps prevent mineral buildup, which can slow down the rooting process.
- Avoid Overwatering: Once you transplant the cuttings into soil, water sparingly, as snake plants don’t like to sit in moist soil for too long.
Benefits of Water Propagation:
- Easy to Monitor: When propagating in water, you can easily see the roots as they grow, which helps track progress.
- Cleaner: Water propagation tends to be cleaner and less messy compared to soil propagation.
Conclusion
Propagating a snake plant by leaf cuttings in water is an easy and effective way to grow new plants. With just a few steps, some patience, and regular water changes, you’ll soon have a healthy new snake plant ready to thrive in its new pot. Give it a try, and watch your plant collection grow!