
( 100% Natural, Remarkably Effective, and Already in Most Kitchens )
The nails had been embarrassing for longer than she cared to admit. Yellowed. Thickened. Slightly crumbling at the edges. She had stopped wearing open shoes months ago. The pharmacy creams had been tried — two different ones, used faithfully for weeks — with results so underwhelming she had almost accepted that this was simply how things were going to be now.
Then a friend mentioned something she used at home. Something from her kitchen. Something so ordinary and so inexpensive that the suggestion was almost dismissed before it was even finished.
Six weeks later, the nails were clearing. New, healthy growth was appearing at the base. The discolouration was fading from the edges inward. And the remedy had cost less than a single tube of the pharmacy cream that had done almost nothing.
This is what she used — and exactly how she used it.
Why Toenail Fungus Is So Stubborn — and What Finally Works
Toenail fungus — known medically as onychomycosis — is one of the most persistent and frustrating conditions to treat precisely because of where it lives. The fungus embeds itself beneath the nail, protected by the hard keratin layer above it like a shield. Most topical treatments, even prescription ones, struggle to penetrate deeply enough to reach and eliminate the infection at its source.
What is needed is something with molecules small enough to pass through the nail structure, and with antifungal properties powerful enough to disrupt the fungal cell environment at a fundamental level — making it impossible for the infection to survive and spread.
The natural remedy that does this works by dramatically altering the pH of the environment around and beneath the nail. Fungus is extraordinarily sensitive to acidity. It thrives in a neutral to slightly alkaline environment — which is exactly the condition inside a warm, enclosed shoe after a long day. Change that environment. Make it acidic enough, consistently enough, and the fungus cannot survive. It cannot reproduce. It retreats. And as it retreats, the nail begins to clear.
This remedy delivers that acidity directly. Its natural acids — particularly acetic acid — penetrate the nail surface and create an environment that is simply inhospitable to fungal life. At the same time, its natural enzymes and antimicrobial compounds attack the fungus directly, disrupting its cell walls and halting its spread.
And because it draws moisture out of the nail rather than adding to it, it reverses the warm, damp conditions that allowed the fungus to take hold in the first place.
People who use this remedy consistently — every single day without exception — report visible improvement in nail clarity within two to three weeks. The thickening softens. The discolouration begins to fade. New nail growth at the base comes through clear and healthy. By six to eight weeks, even long-standing infections that had resisted pharmaceutical treatments are often dramatically improved.
Still wondering what this remarkable liquid is?
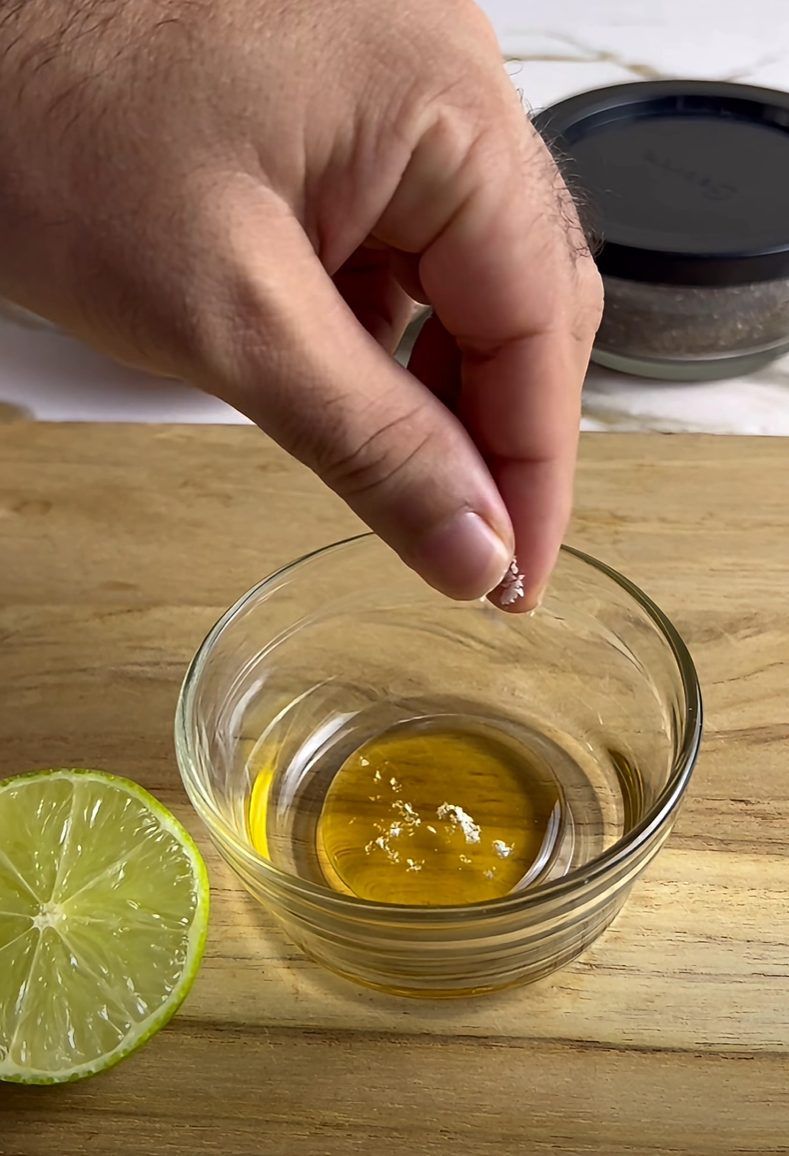
The Ingredient
Apple cider vinegar.
Raw, unfiltered apple cider vinegar — the kind with what is known as the mother, the cloudy, living culture of natural enzymes and bacteria visible at the bottom of the bottle. This is the most potent form and the one that delivers the full antifungal benefit. Clear, filtered apple cider vinegar is significantly less effective.
What You Will Need
- 1 cup of raw unfiltered apple cider vinegar ( with the mother )
- 1 cup of warm water
- A basin large enough to soak both feet comfortably
- A clean towel
- A nail file or pumice stone for gentle nail preparation
- Optional: 10 drops of tea tree essential oil for powerful additional antifungal action
- Optional: 1 cup of Epsom salt added to the soak to draw out moisture and soothe surrounding tissue
How to Do It — The Daily Protocol
Before each treatment, gently file the surface of the affected nail with a clean nail file. This is not optional — it is one of the most important steps. Thinning the hardened surface of the nail allows the apple cider vinegar to penetrate far more deeply and reach the infection beneath far more effectively. File gently, in one direction, until the surface feels slightly roughened but not sore.
Fill the basin with one cup of raw apple cider vinegar and one cup of warm water. Add tea tree oil and Epsom salt if using and stir to combine. Submerge both feet completely and soak for 20 to 30 minutes. During this time, the acidic solution is penetrating the nail surface, altering the pH beneath it, and actively working against the fungal environment.
After soaking, remove your feet from the basin and dry them with a clean towel — thoroughly and completely, paying careful attention to every space between the toes. This step is critical. Any residual moisture left on the skin is an invitation for fungus to persist. Pat, do not rub, and allow the feet to air for a few additional minutes before putting on socks or shoes.
Repeat this soak every single day. Consistency is not just helpful — it is everything. Missing days allows the fungal environment to re-establish before the treatment has had a chance to fully clear it.
Between Soaks — Keeping the Advantage
In the hours between soaks, apply a small amount of undiluted apple cider vinegar directly to the affected nail using a cotton ball or a clean brush. Do this morning and evening in addition to the daily soak. This keeps the pH of the nail environment consistently acidic and prevents the fungus from recovering between treatments.
Allow the nail to dry completely after each application before covering with socks or shoes.
What to Expect and When
In the first week, the area around the nail often feels cleaner, less irritated, and the faint unpleasant odour that sometimes accompanies nail fungus begins to clear. The nail may initially appear slightly more white or opaque as the treatment begins to work — this is normal and a sign that the antifungal action has begun.
By the end of week two to three, the discolouration starts to visibly fade from the edges and the nail surface begins to look cleaner and less thickened. The most encouraging sign — new, clear nail growth emerging at the base — typically appears between week three and week four.
By week six to eight, even stubborn, long-standing infections are often dramatically improved. Full clearance of the nail depends on how advanced the infection was and how consistently the treatment was applied — but the progress is steady, visible, and deeply satisfying.
One bottle of apple cider vinegar. Applied daily, without fail. And nails that you will no longer feel the need to hide.